Appearance
Sub group itinerary
In this section
- Learn how to add itinerary items
- Learn how to manage itinerary items
- Learn how to delete itinerary items
Before we begin
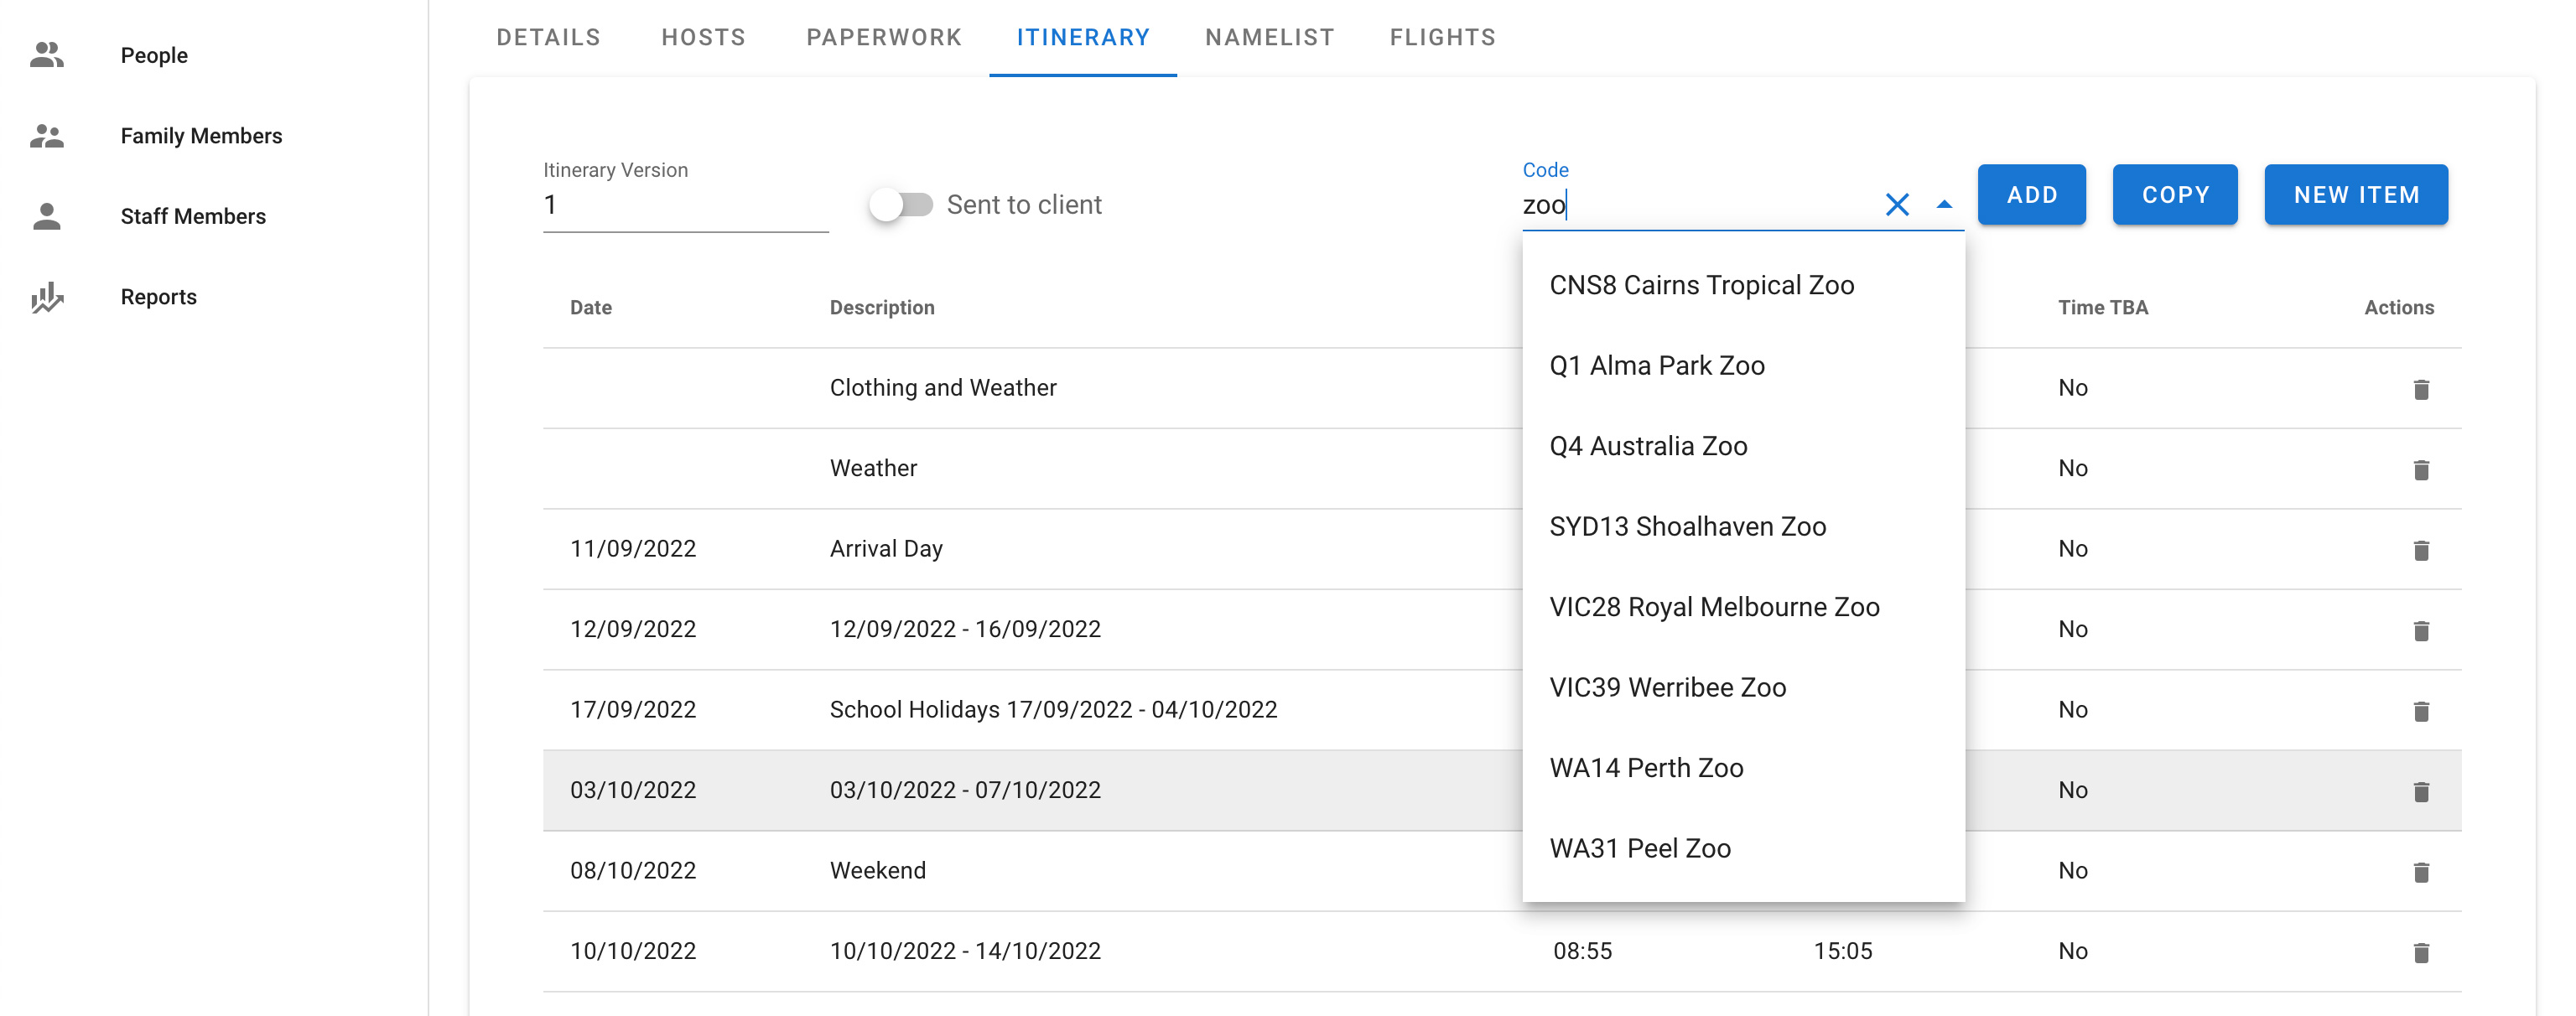
Adding itinerary items from the library
To add existing itinerary items from the itinerary library just enter the library code into the code box and select the item from the dropdown. Once you have selected the correct one click the add button.
INFO
See all the options in the itinerary library definitions
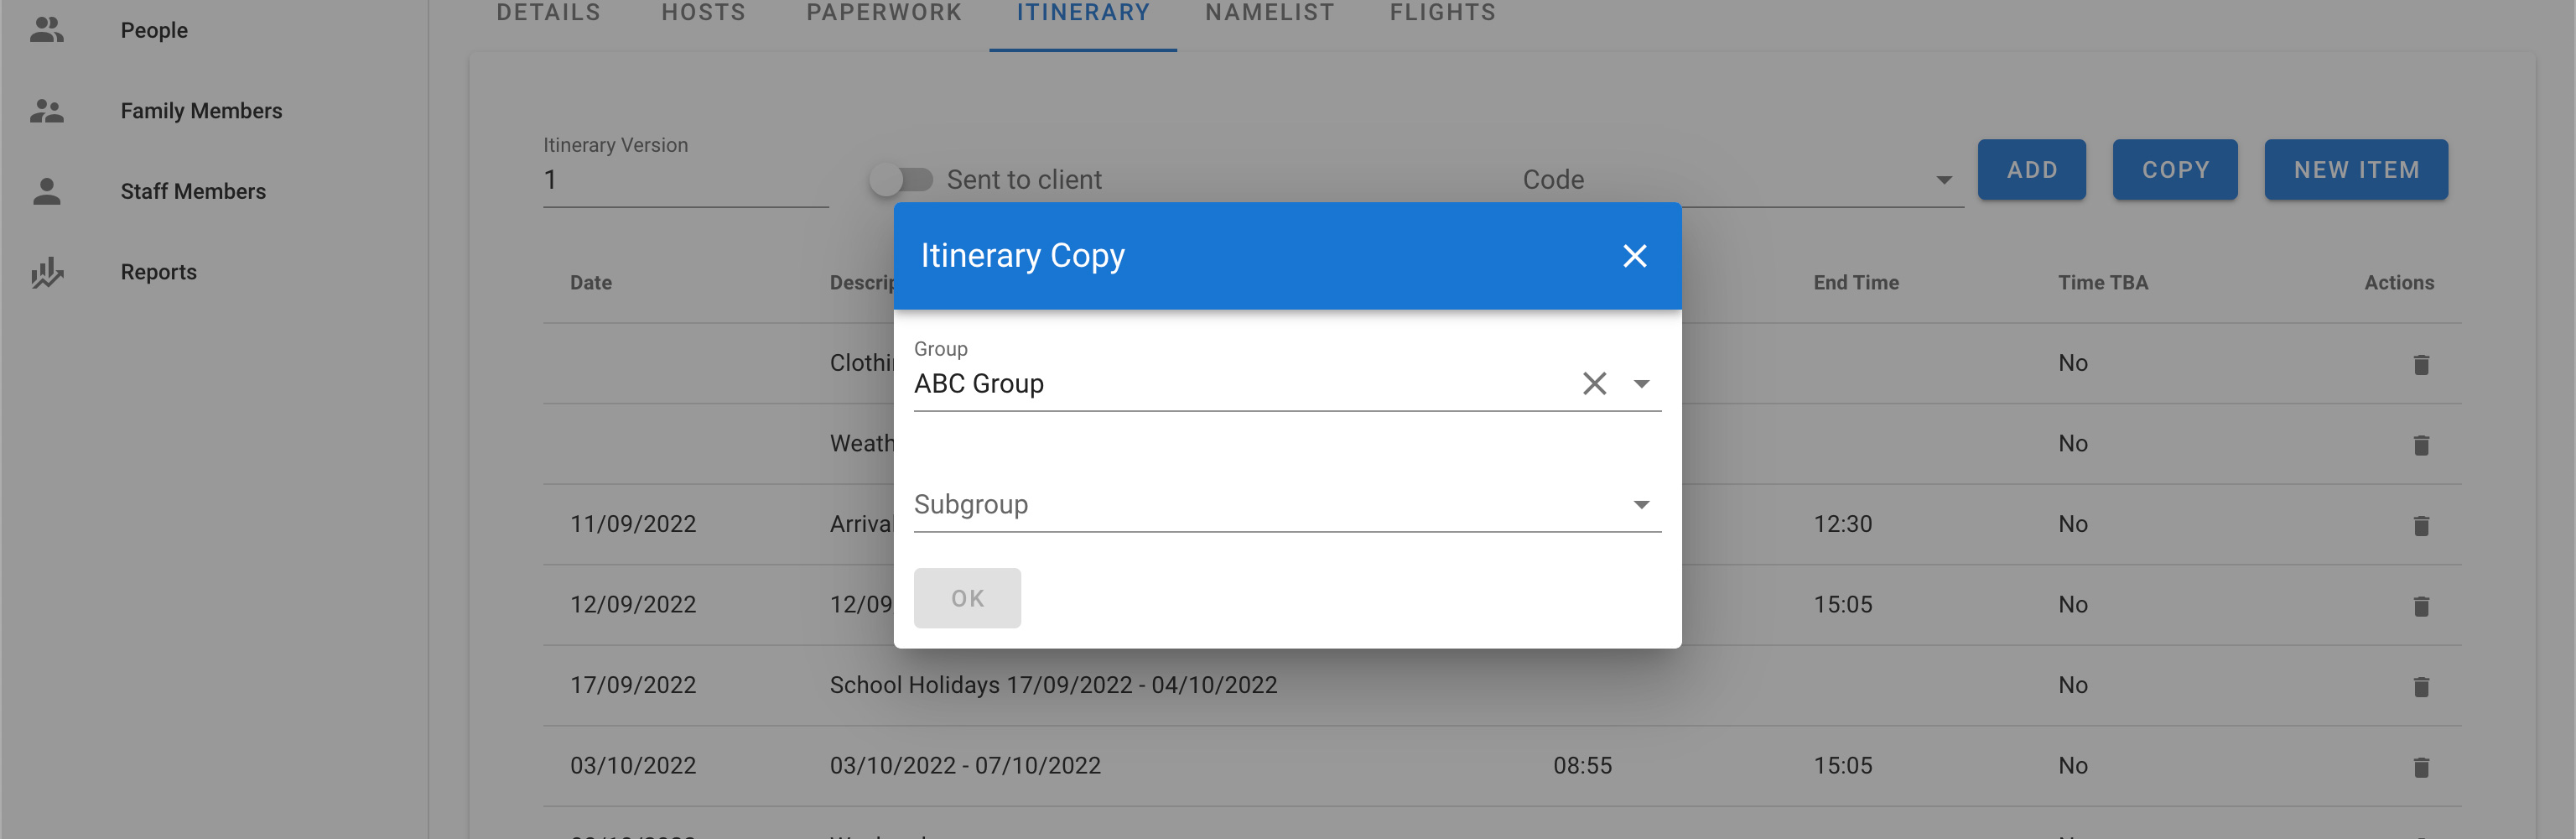
Copy existing itinerary items from another group
To copy all the itinerary items from another group click the Copy button, this will open the Itinerary Copy popup window. This will allow you to search groups and select another sub group to copy from. Once the sub group is selected press the OK button. This will copy all the items across to the current sub group.
Create a new itinerary item
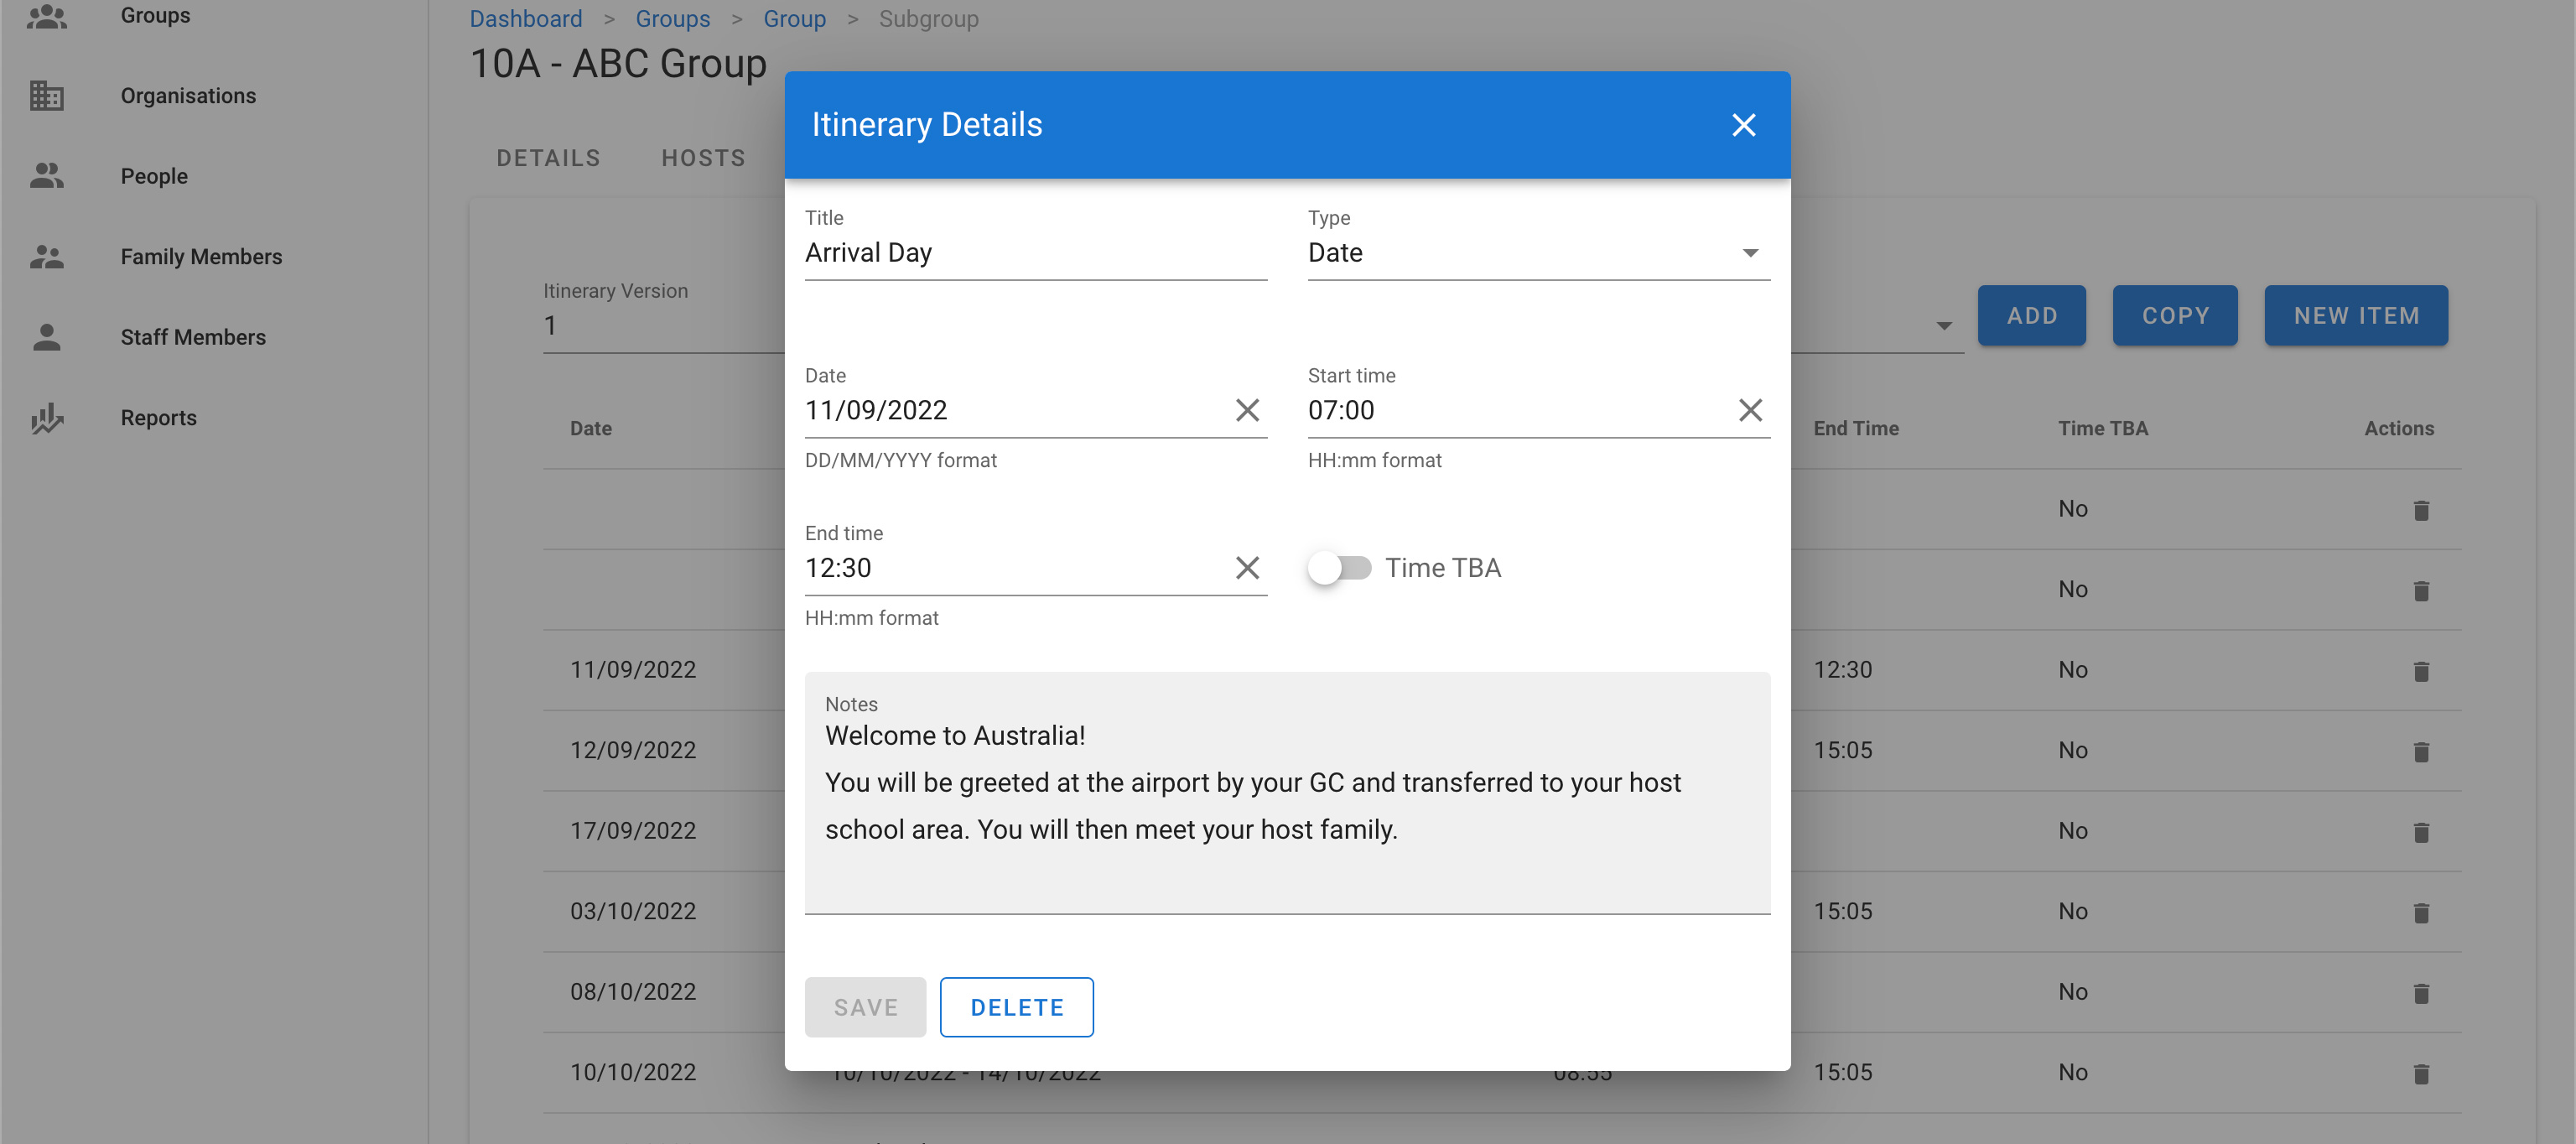
To create a new itinerary item click on the new button.
Once on the itinerary item screen, update the relevant fields. Then confirm the change by clicking the Save button.
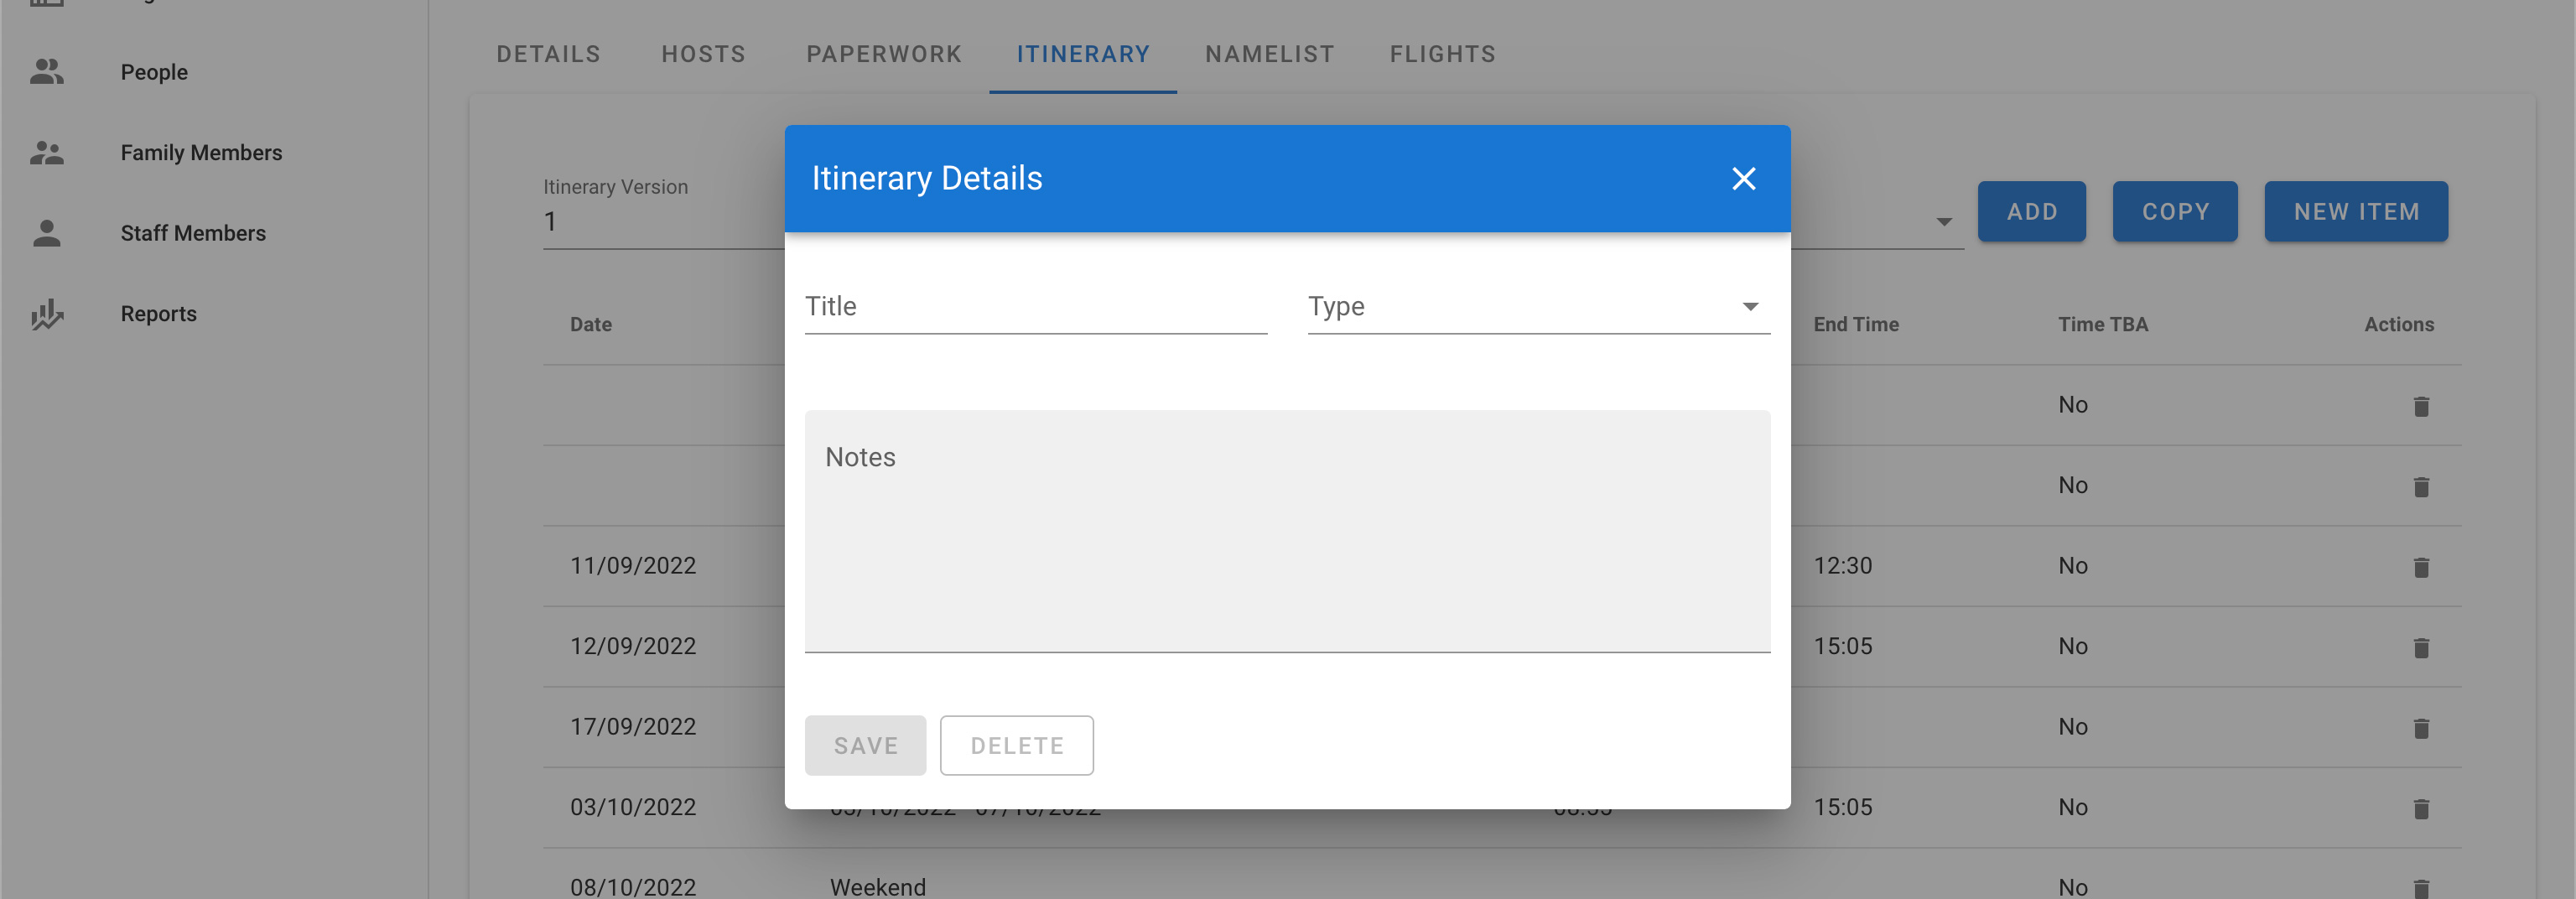
Editing an itinerary item
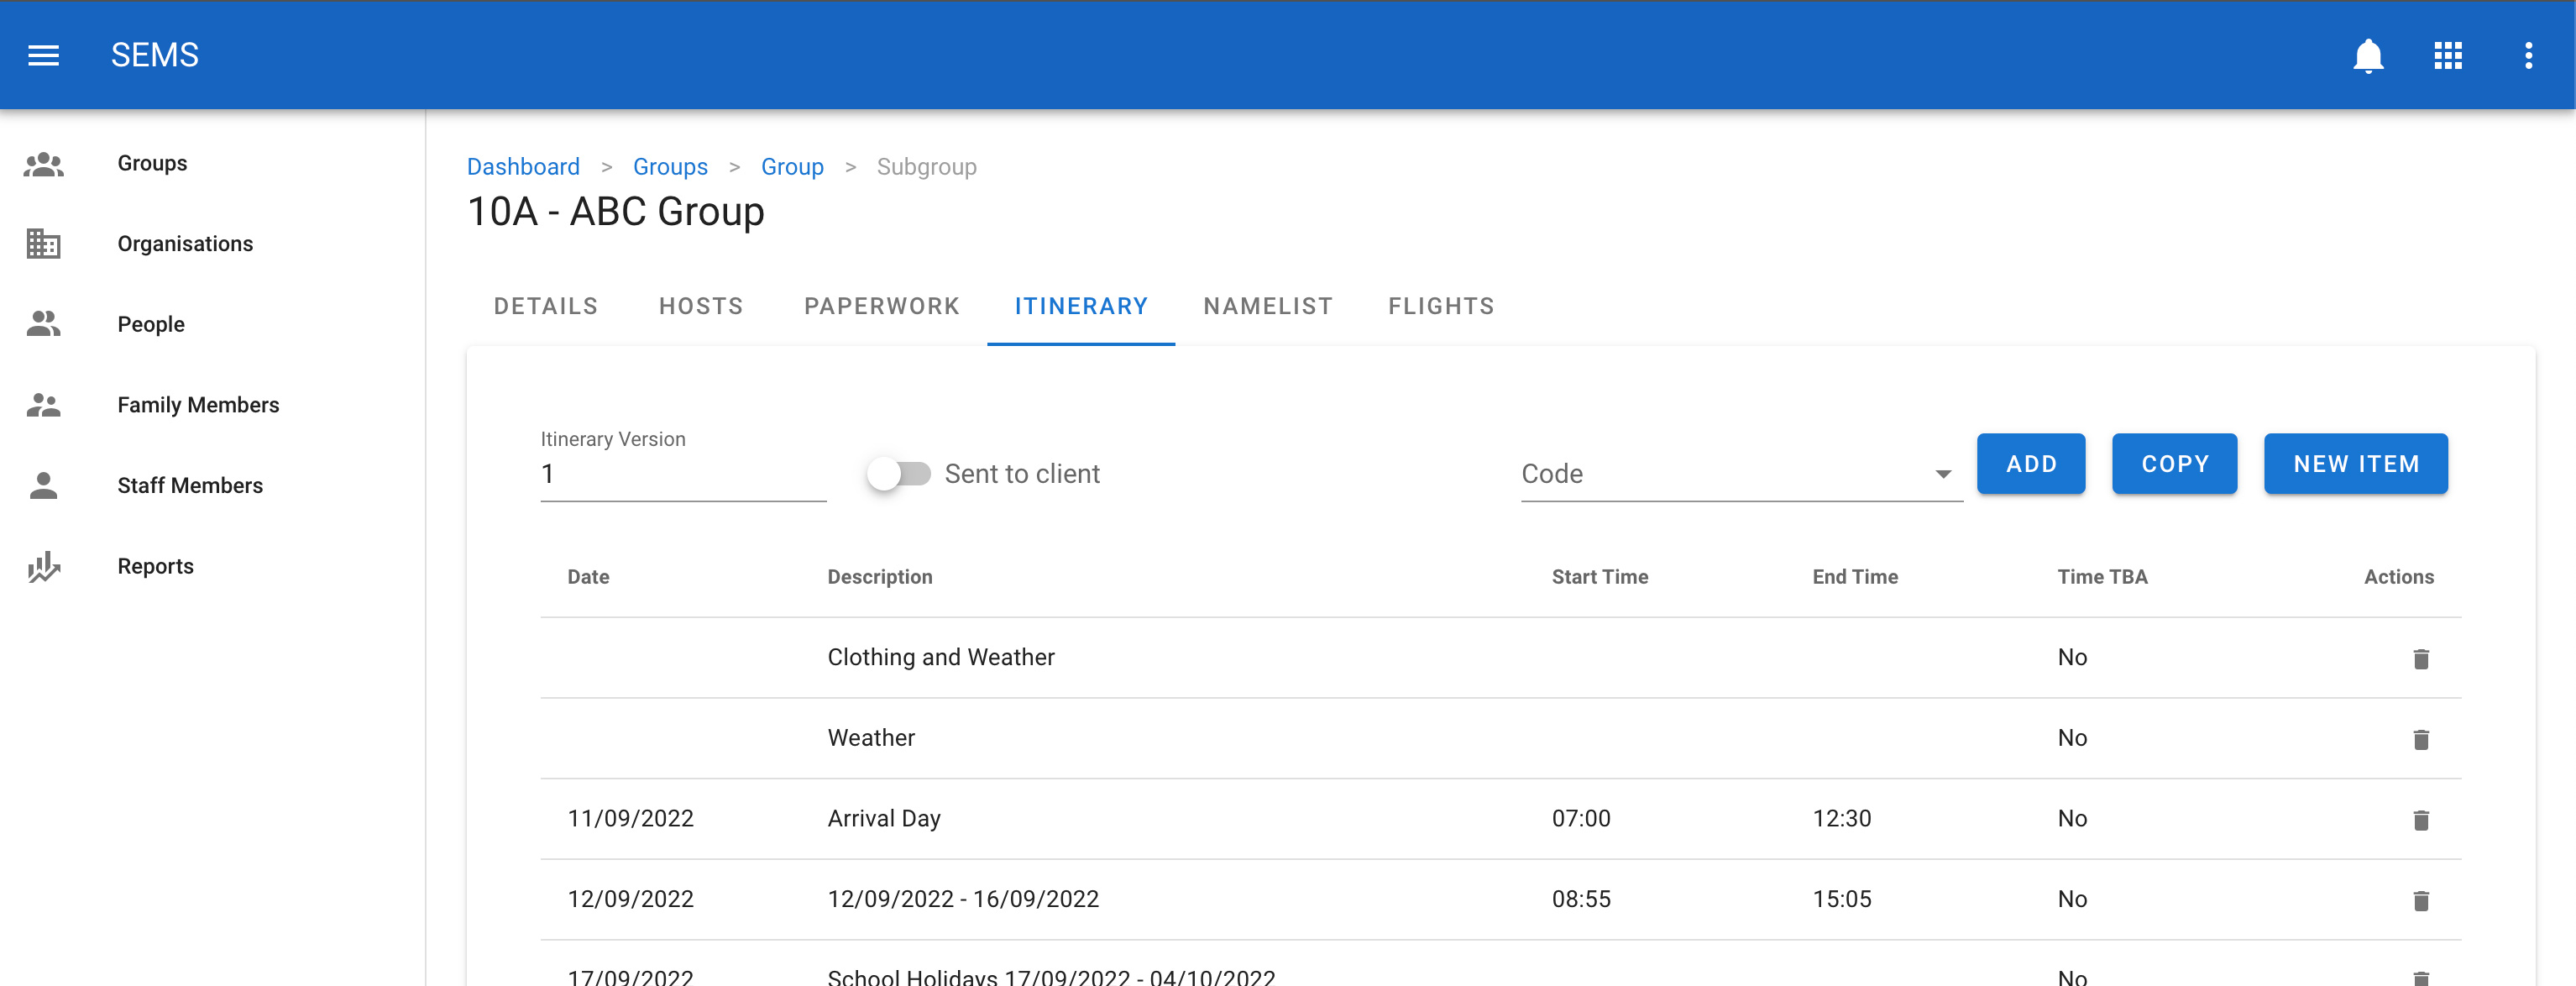
To change or edit an itinerary item, navigate to the sub group page, select the itinerary items tab and click on the title or row of the itinerary item you want to edit.
Once on the itinerary item edit screen, update the relevant fields. Then confirm the change by clicking the Save button.
Delete an itinerary item
To delete an itinerary item navigate to the sub group page and select the itinerary items tab, then click the icon Delete which is shown as a trash icon on the list view for an itinerary item.