Appearance
Sub group paperwork
In this section
- Learn how to add paperwork
- Learn how to manage paperwork
- Learn how to delete paperwork
Before we begin
Adding paperwork and/or paper sets
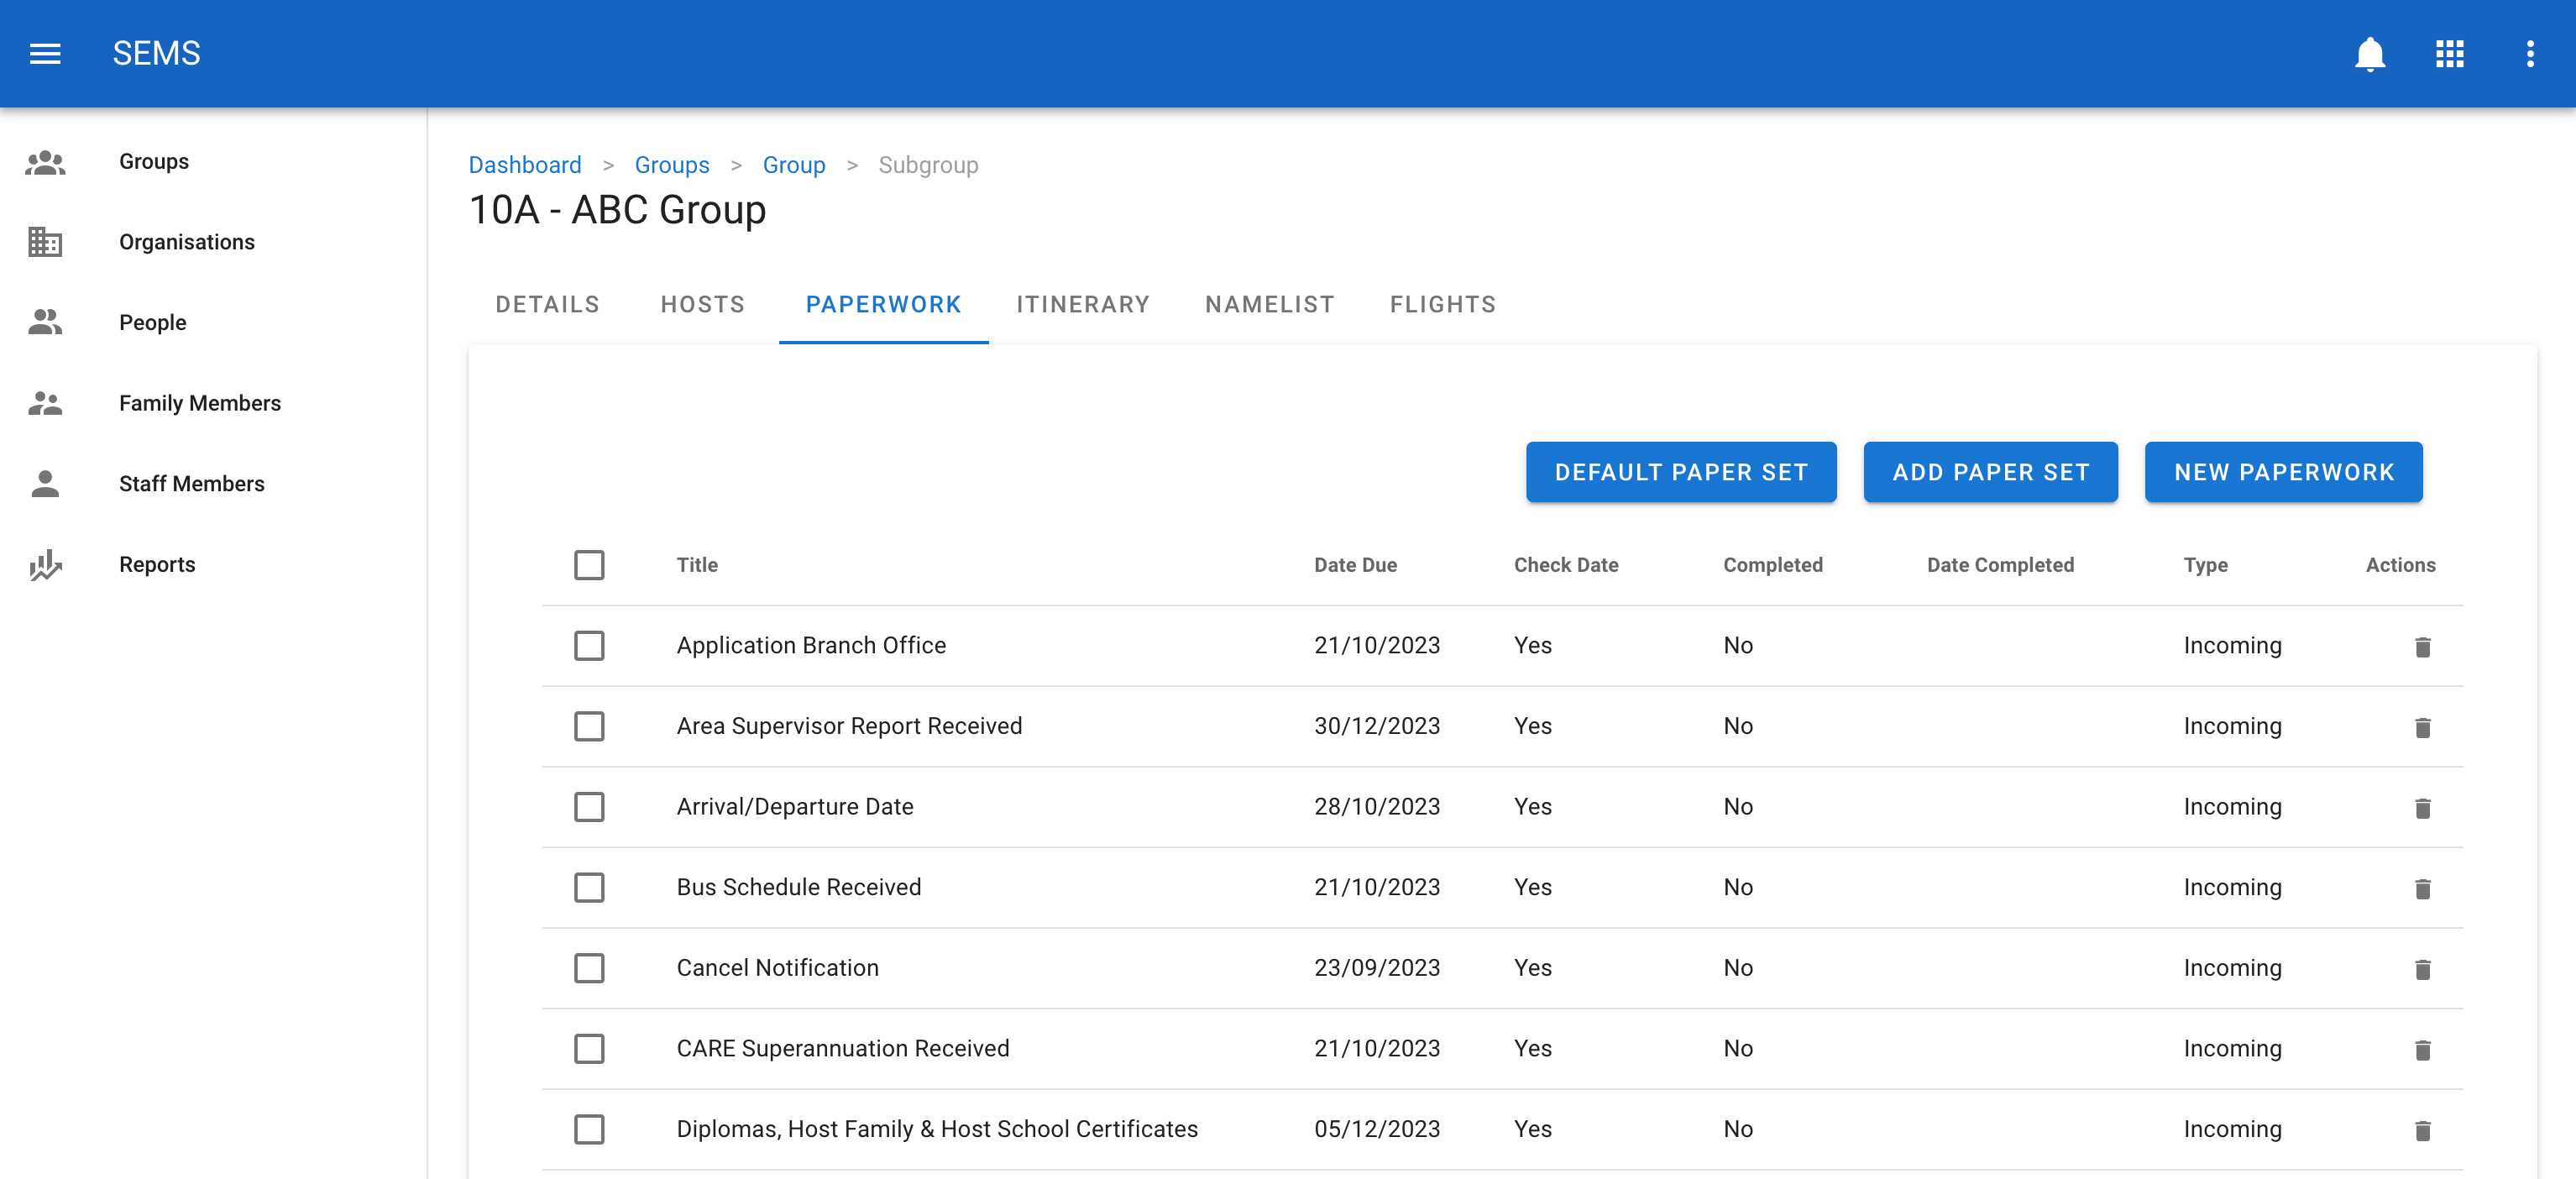
Select the paperwork tab in the sub group you are editing. To add the default paper set for the group click on the Default Paper Set button. This will generate a list of paperwork based on the main groups current paperwork setting.
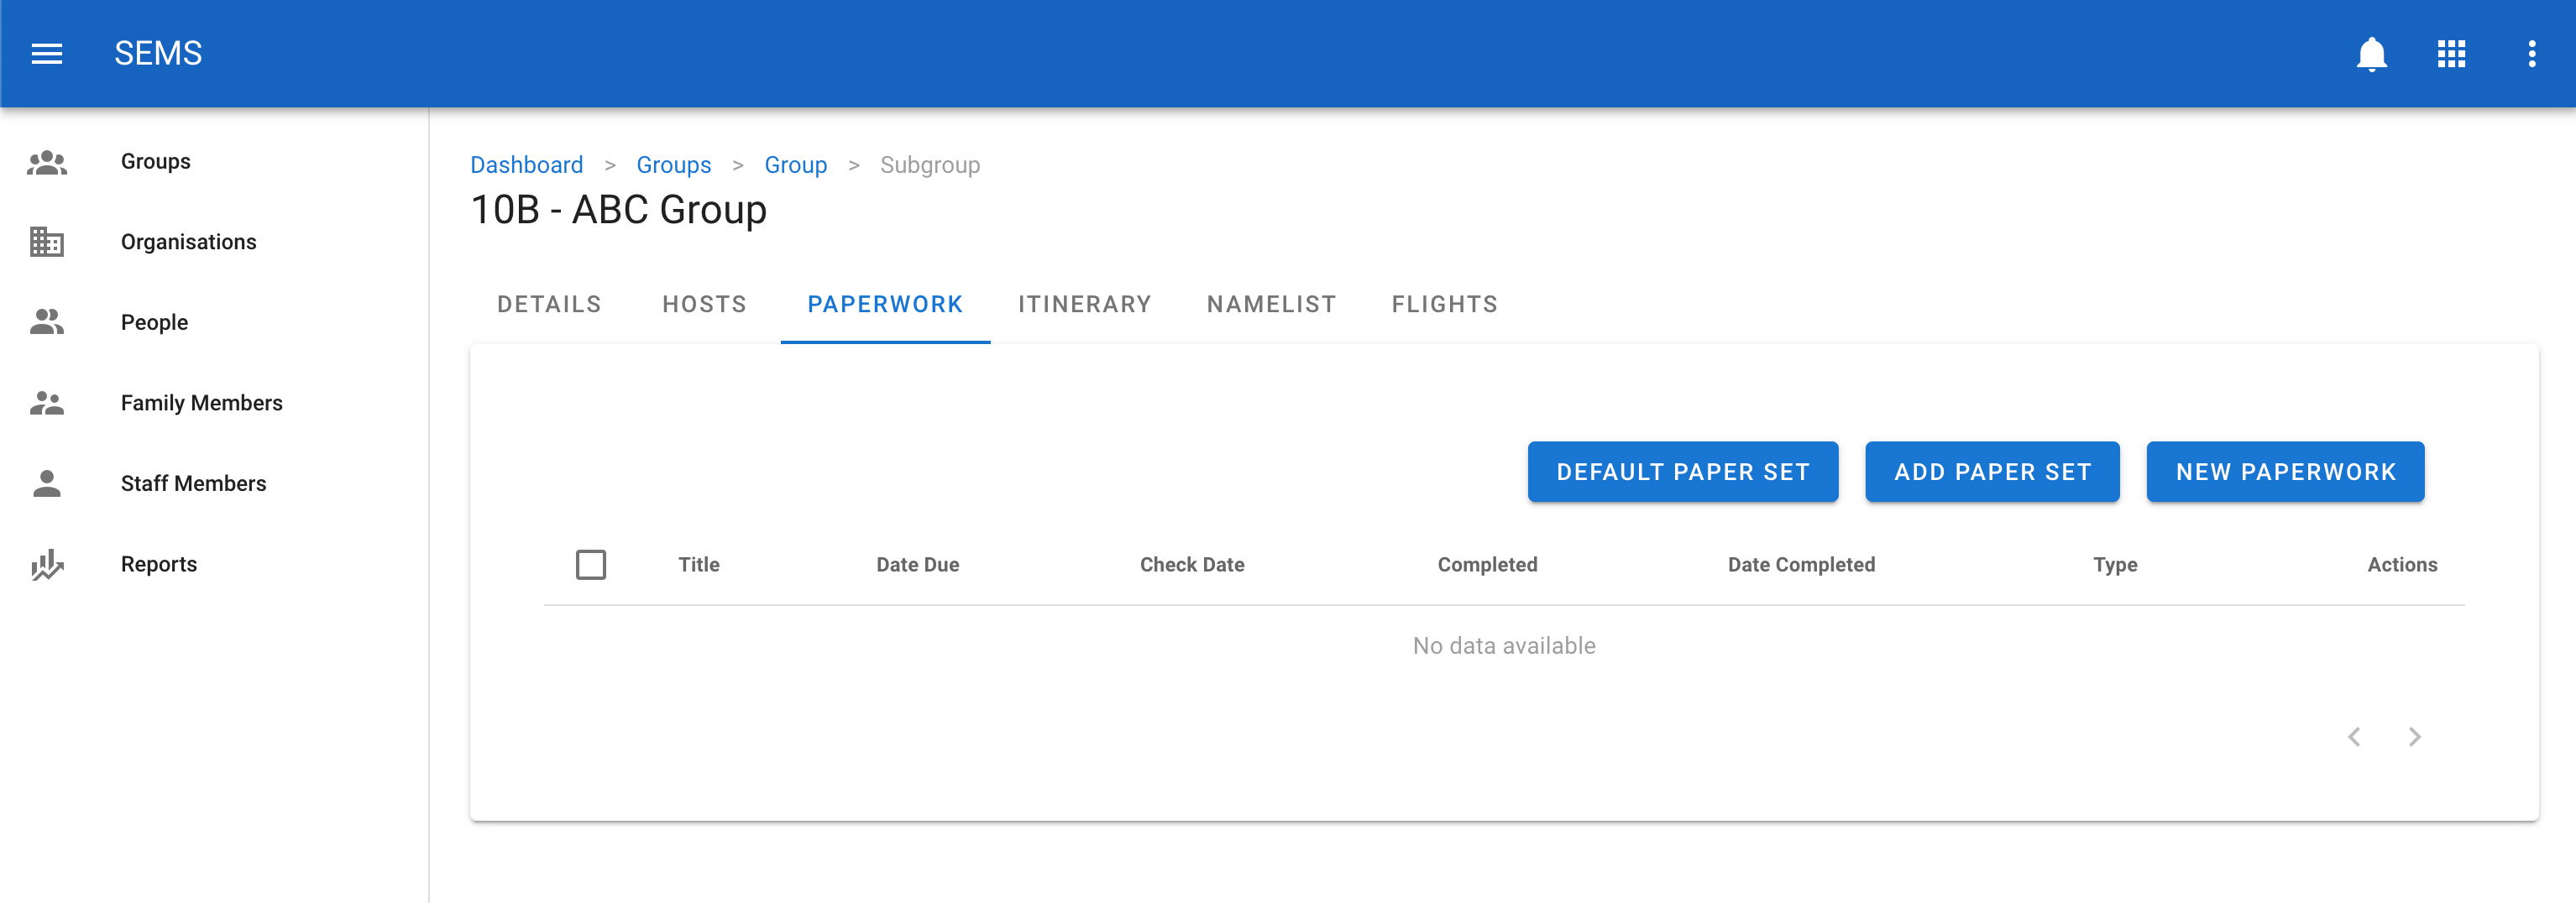
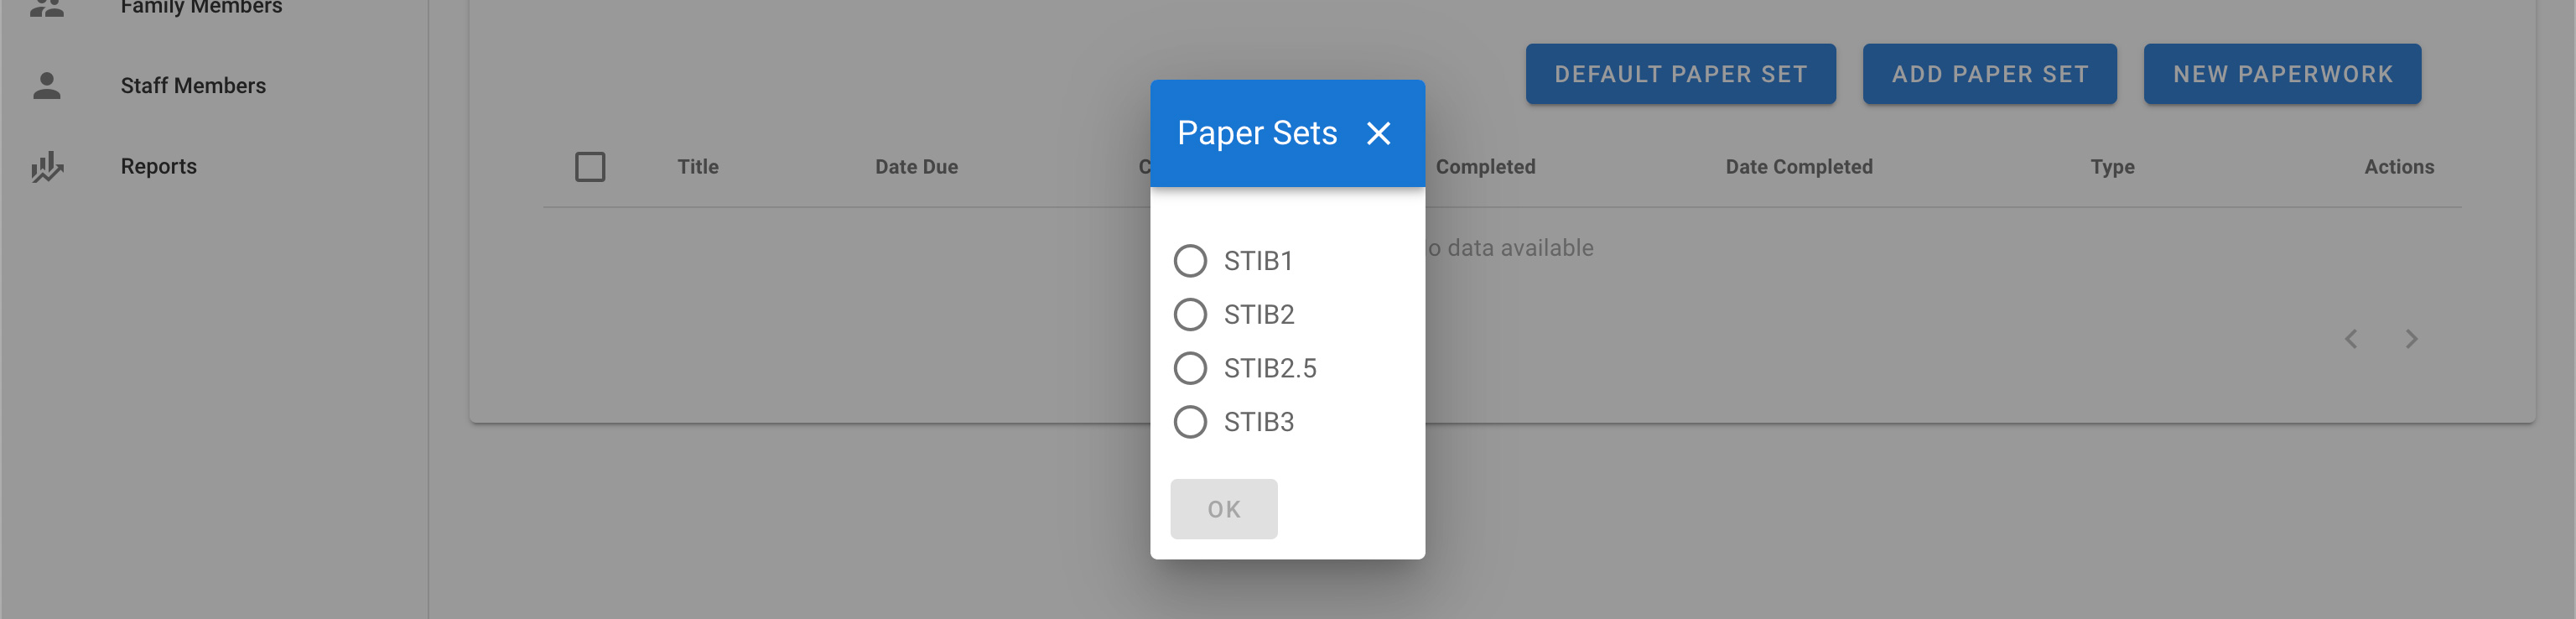
If you do not want to use the default paperwork set, you can choose to select the paperwork set from a list by clicking on the Add Paper Set button. Once you have selected the correct paper set click the OK button.
If you want to manually add a new type of paperwork you can click on the New Paperwork button. This will enable you to manually fill in all of the options for the paperwork that needs to be provided.
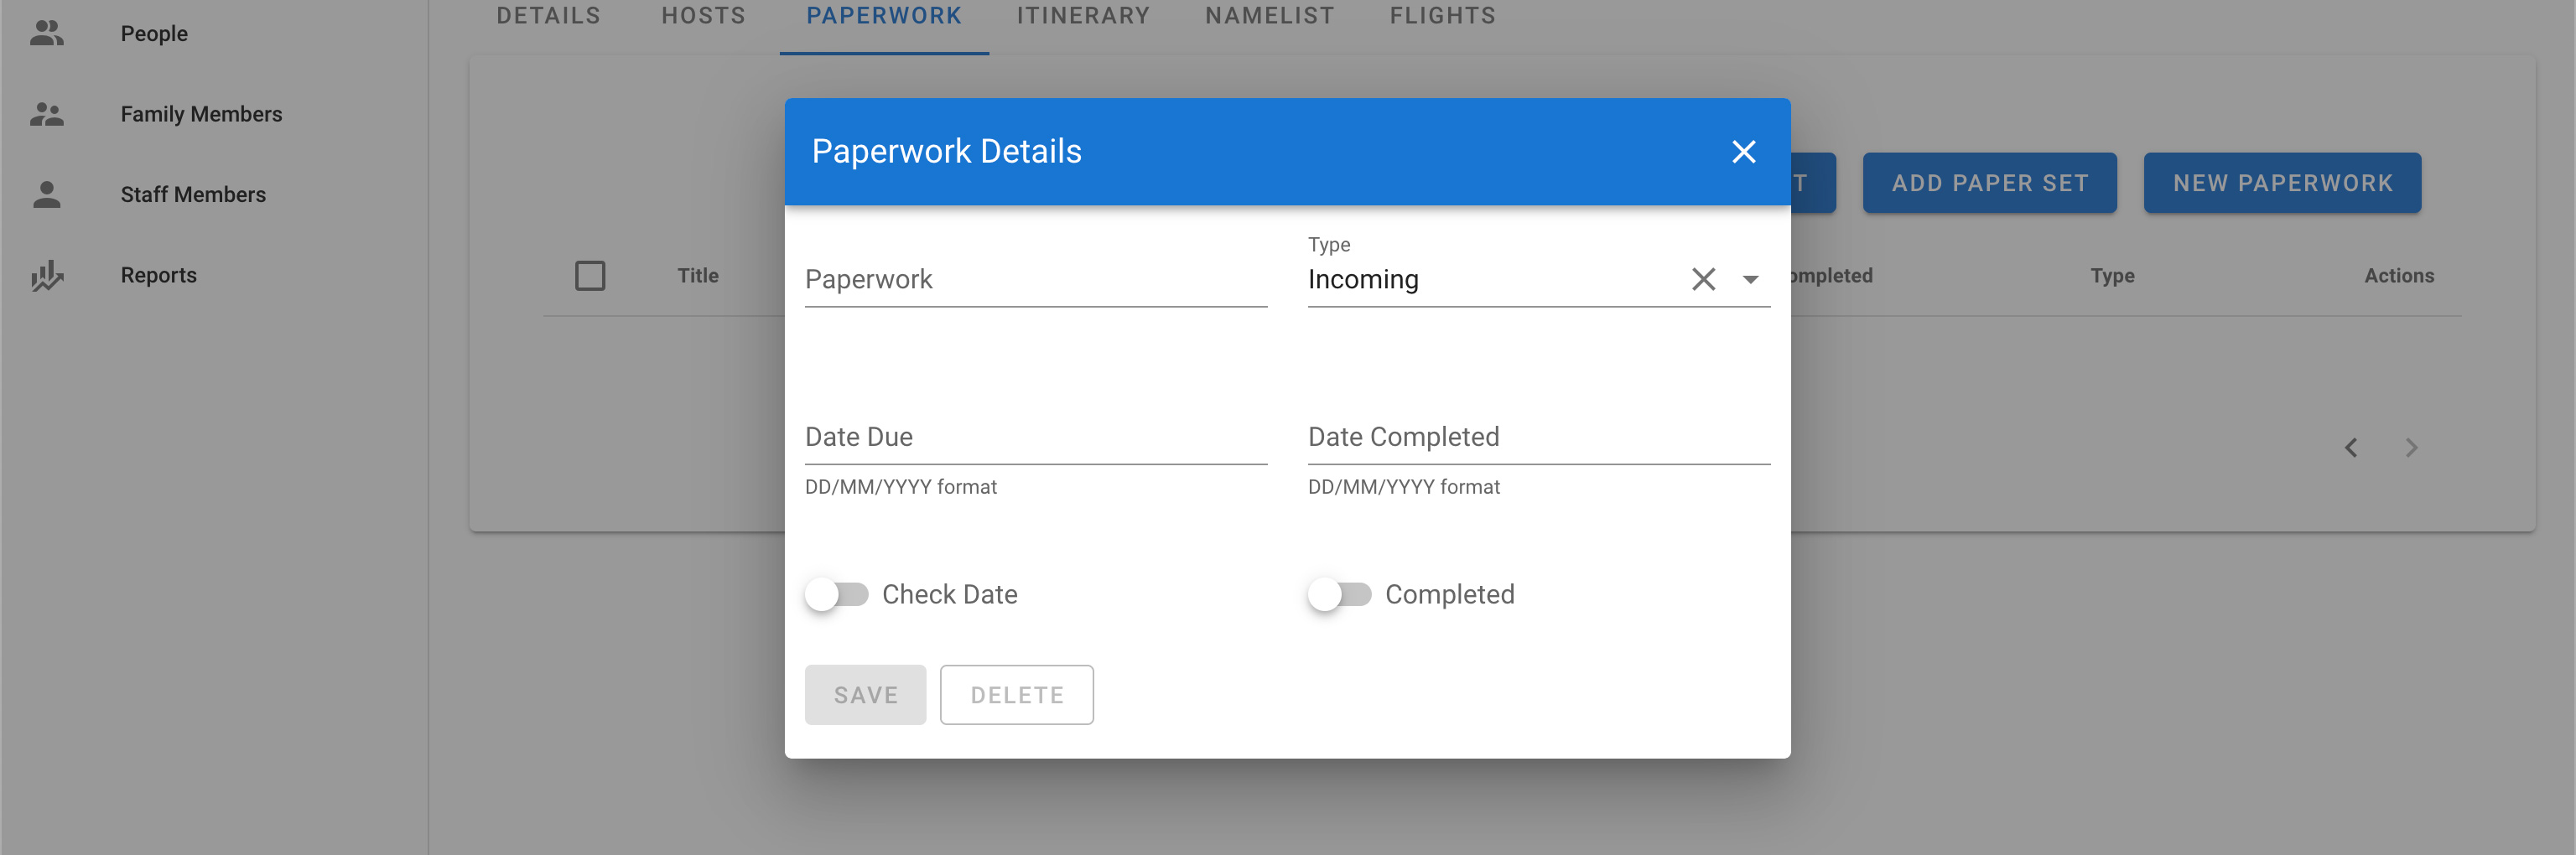
Just fill in all the details and then press the Save button to add the paperwork to the sub group.
WARNING
Manually created paperwork will not be displayed in the export reports
Editing paperwork
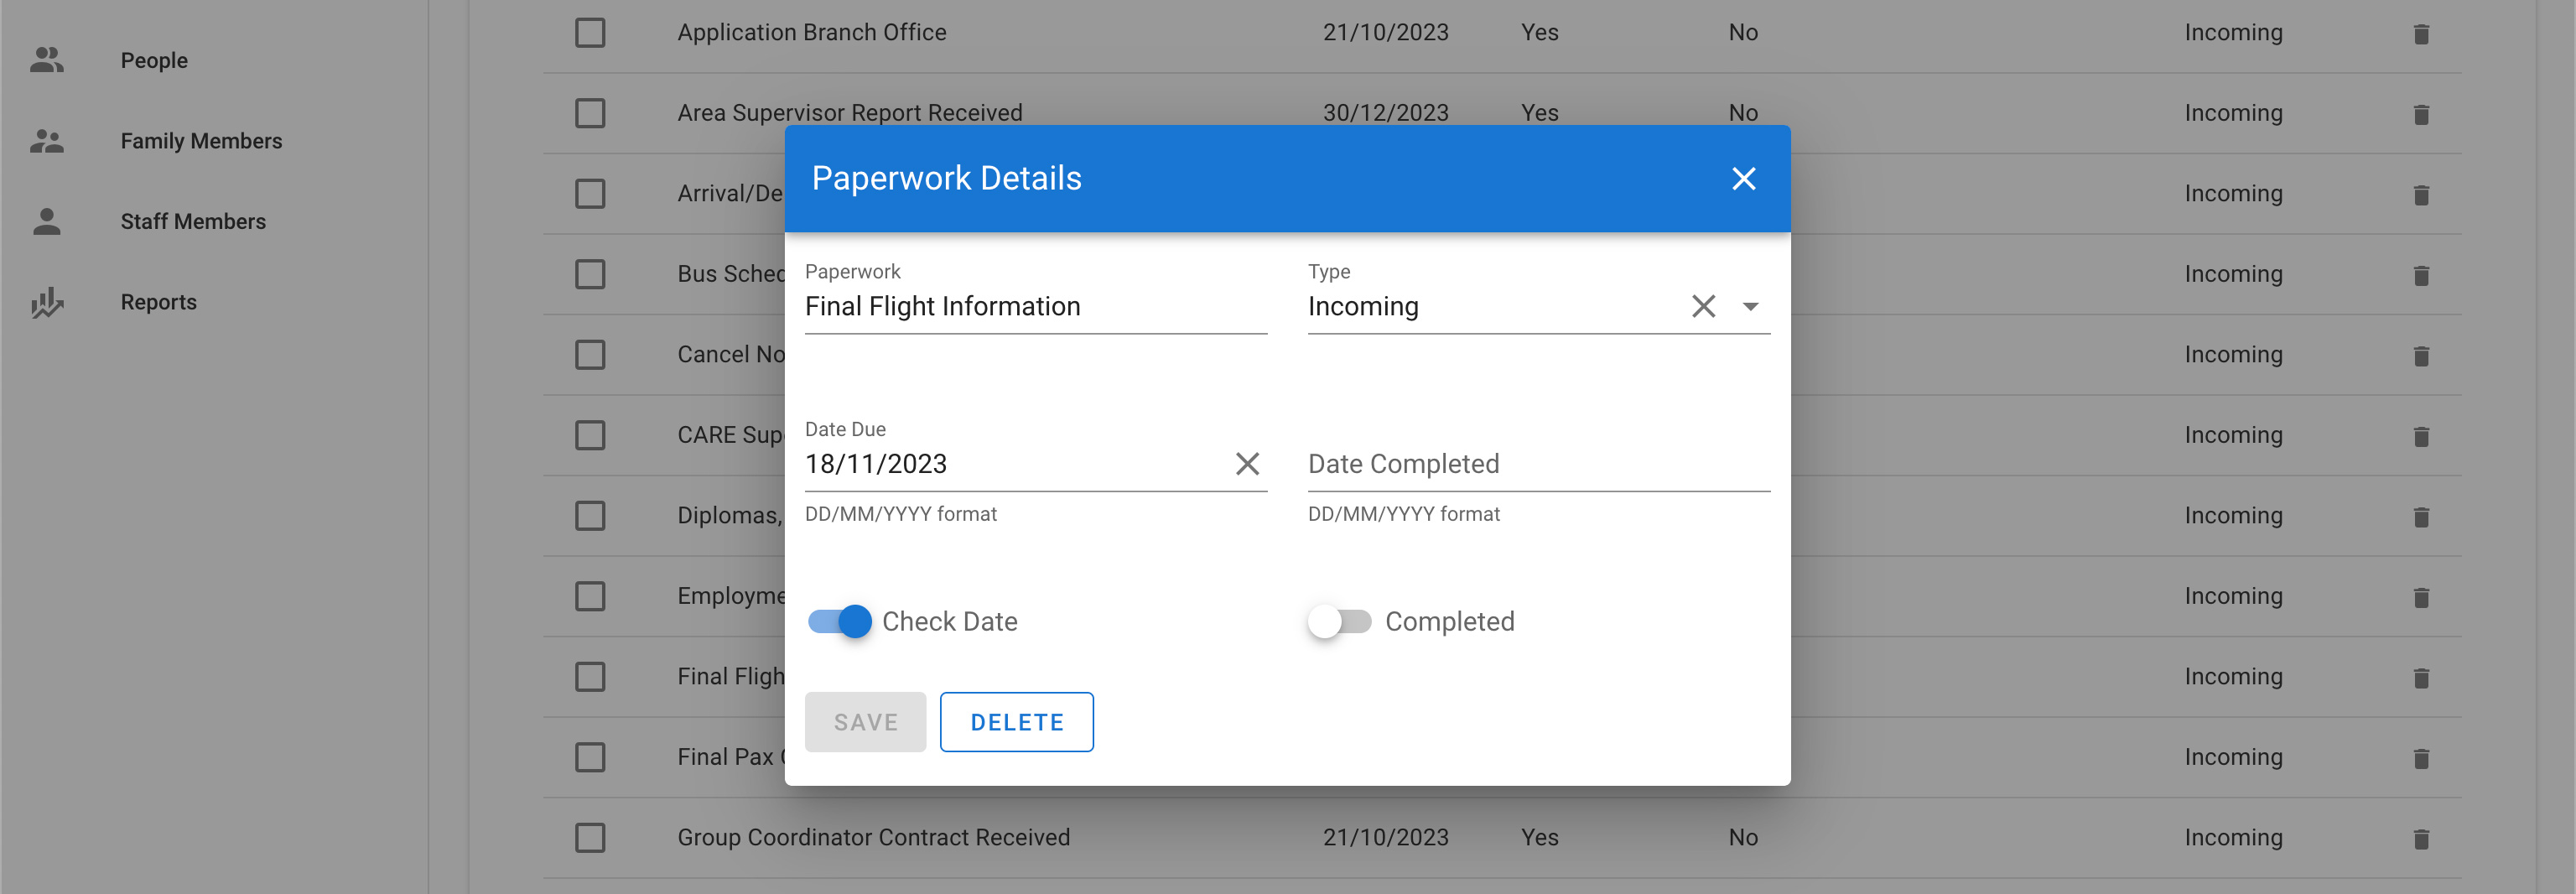
To change or edit paperwork, navigate to the paperwork page, and select the paperwork you would like to edit by clicking on the title or row.
Once on the paperwork edit screen, update the relevant fields. Then confirm the change by clicking the Save button.
Deleting paperwork
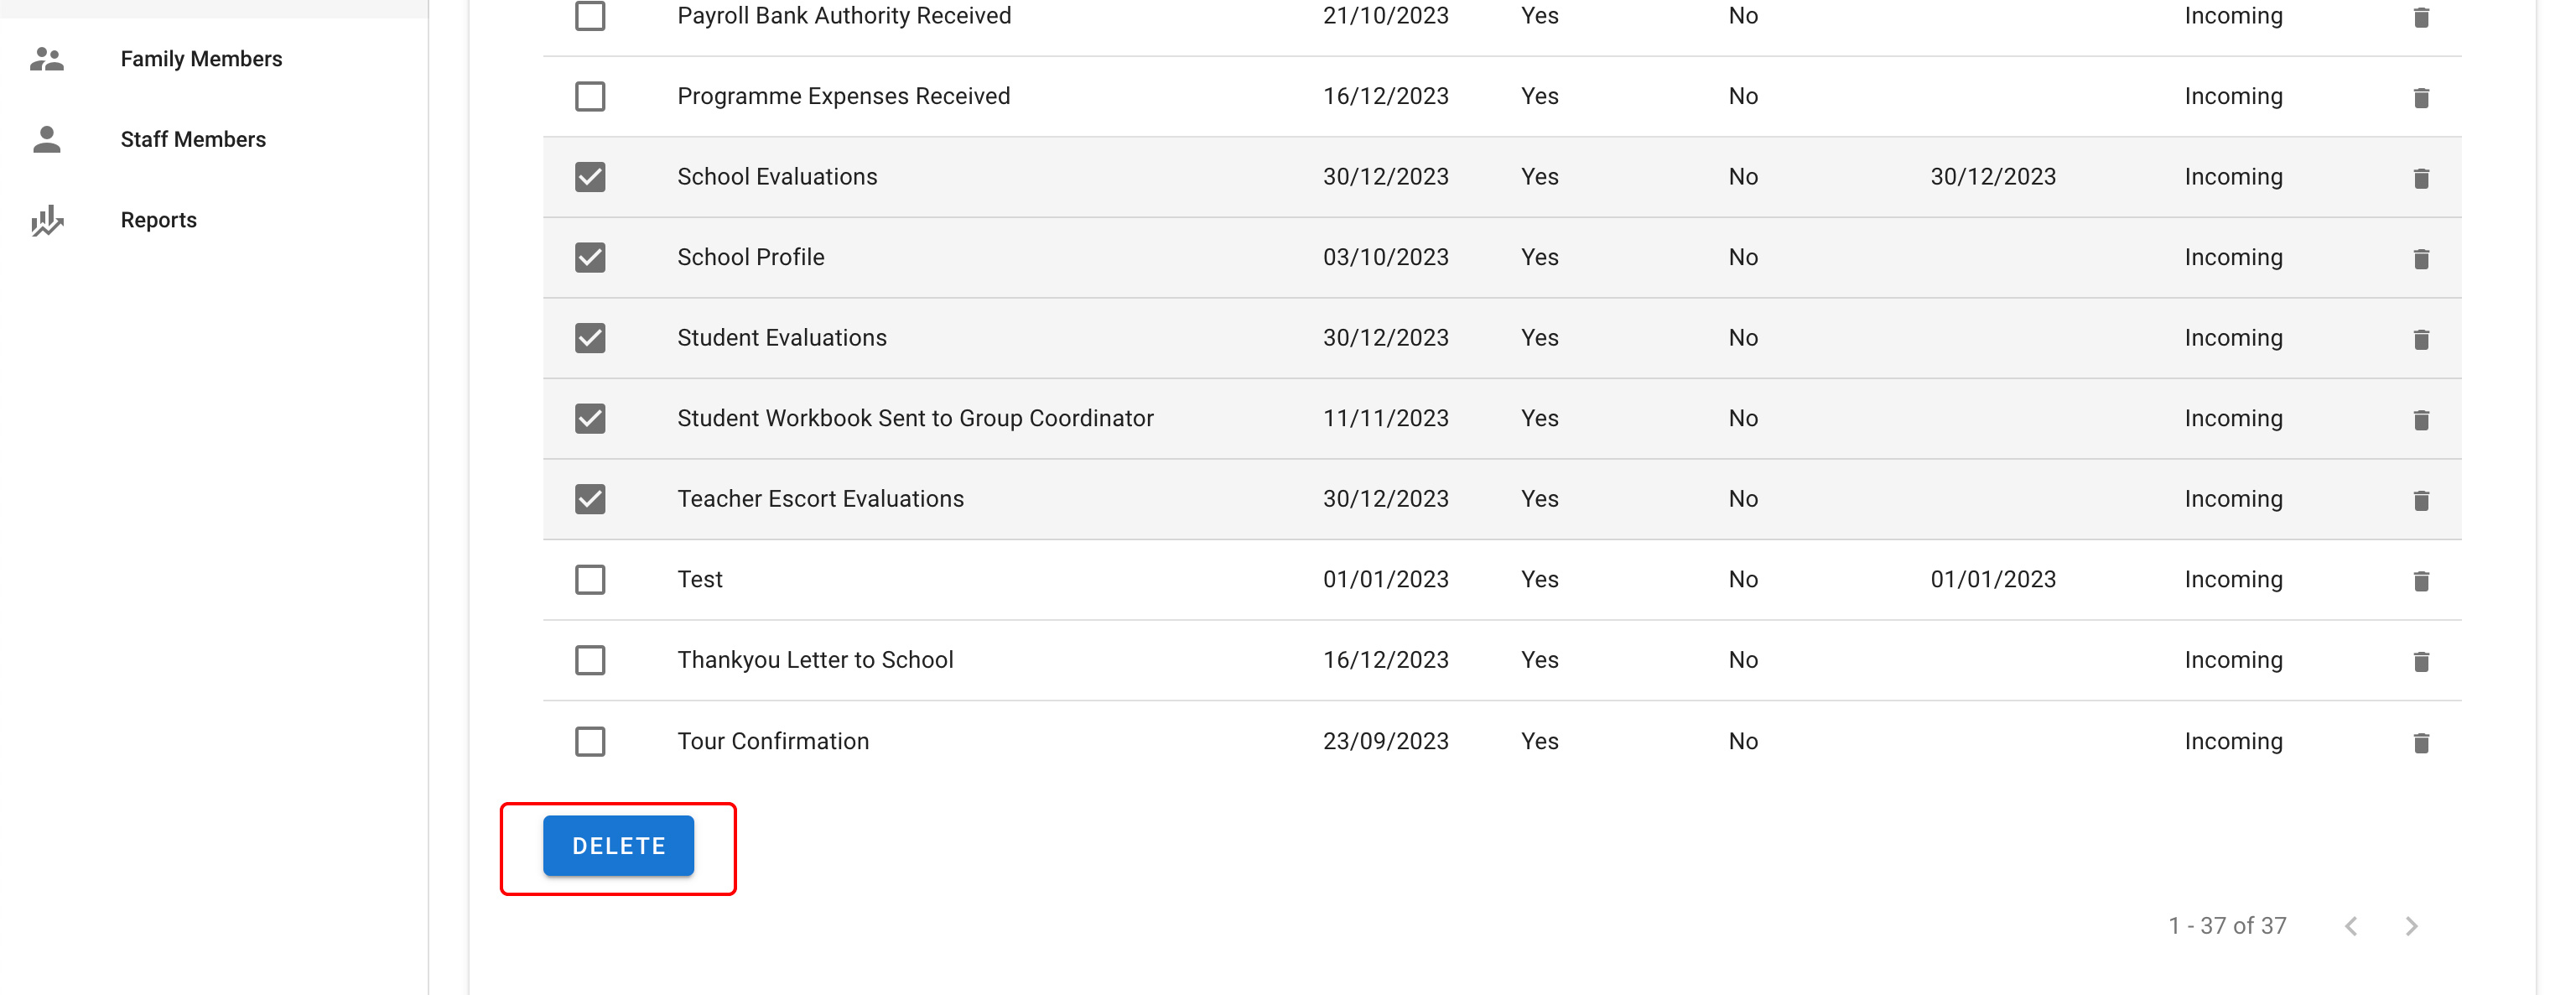
To delete paperwork navigate to the Paperwork tab, then click the icon Delete which is shown as a trash icon on the list view for paperwork.
You can also delete multiple pieces of paperwork, by ticking the checkboxes next to each piece of paperwork and scrolling to the bottom, and clicking on the Delete button.