Appearance
Sub groups
In this section
- Understand sub groups
- Learn how to create sub groups
- Learn how to manage sub groups
- Learn how to delete a sub group
Before we begin
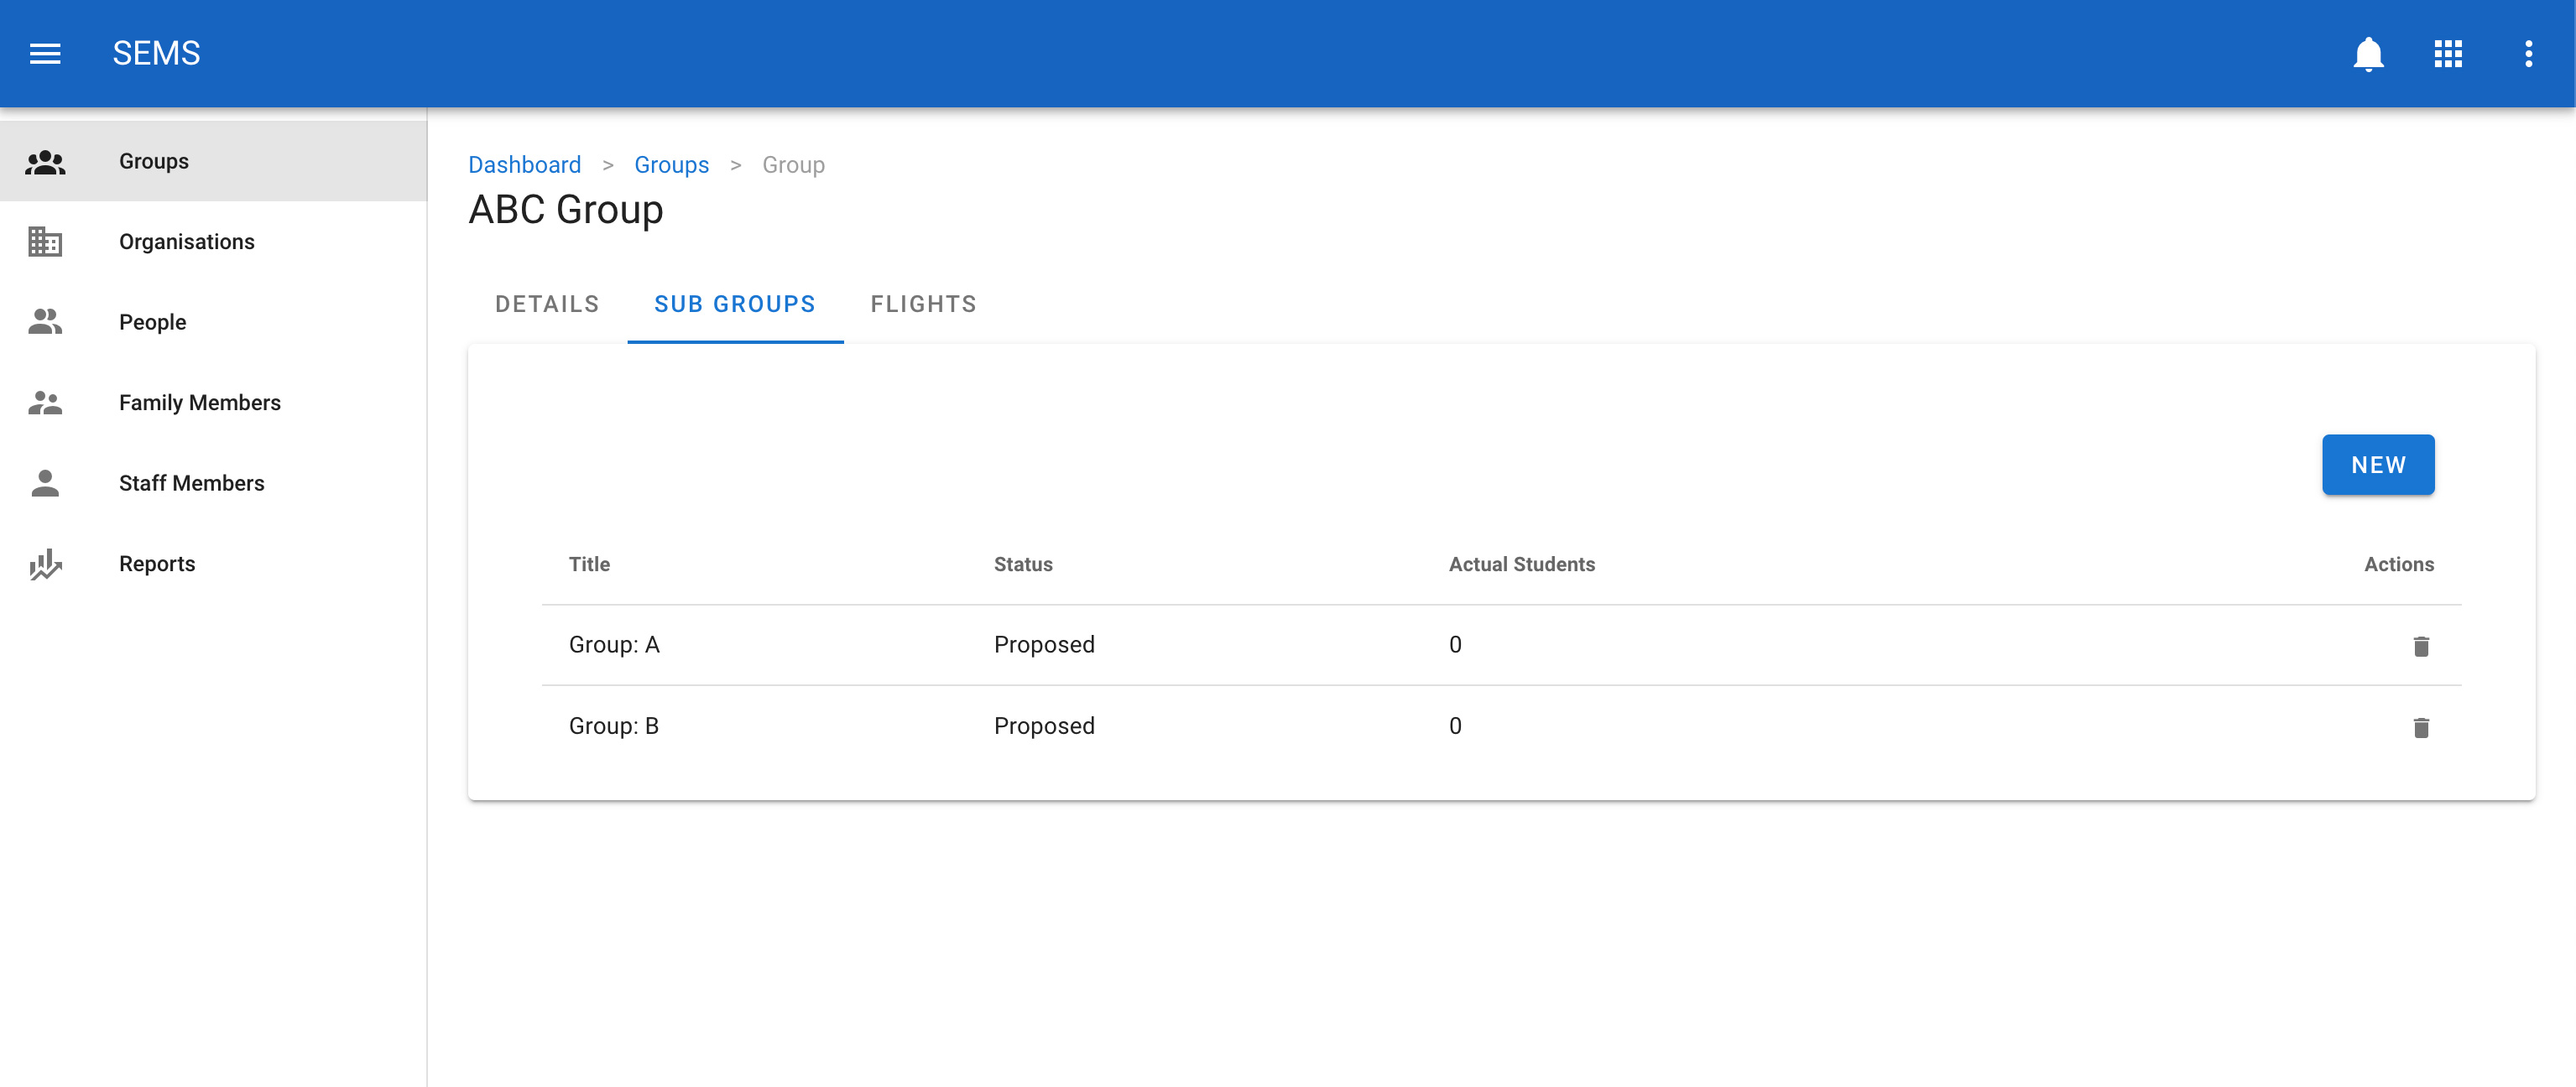
Navigate to the group that you want to add, edit or delete a sub group for. When you are in the group select the sub groups tab. Then click on the sub group you want to edit.
INFO
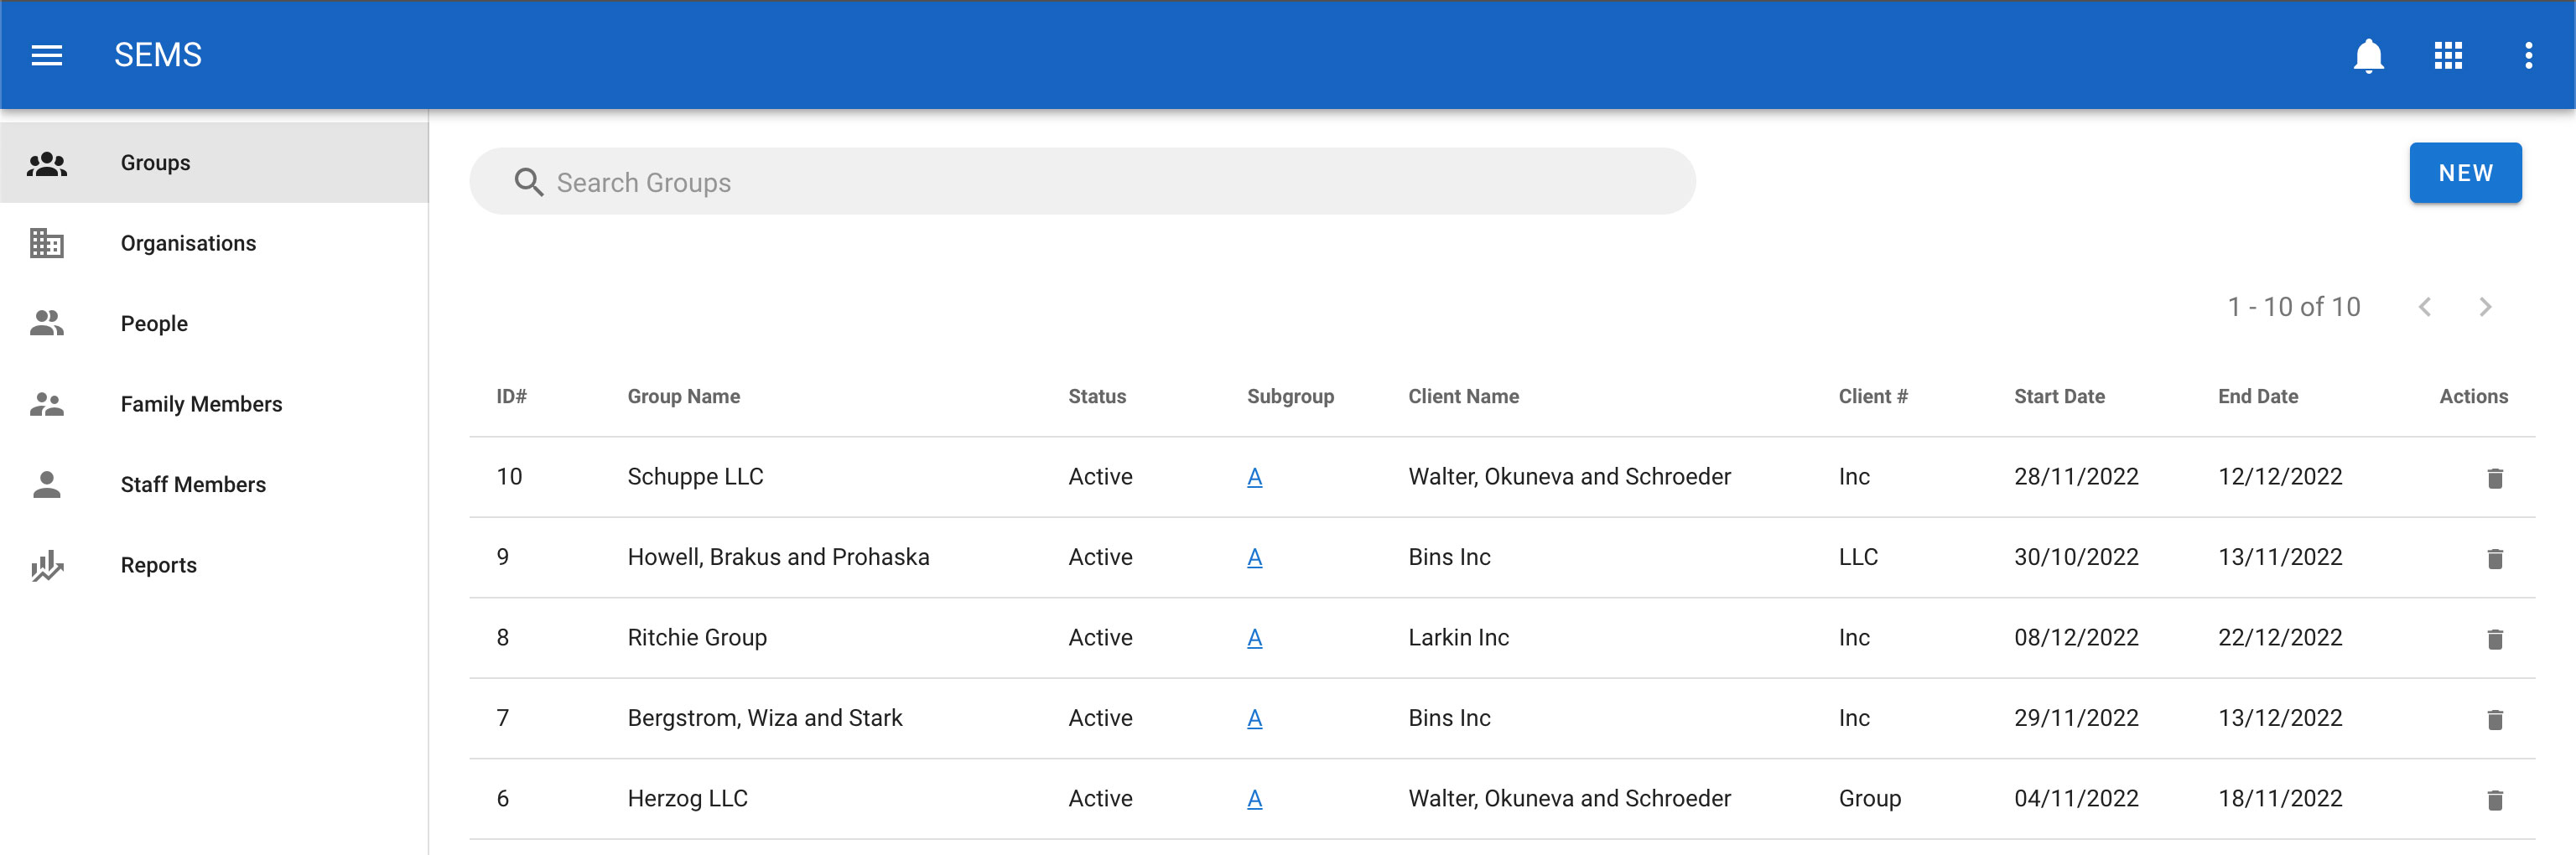
You can also access the sub groups quickly by clicking on the letters A, B, C etc next to the group on the group listing page.
Creating a new sub group
To create a new sub group click on the new button.
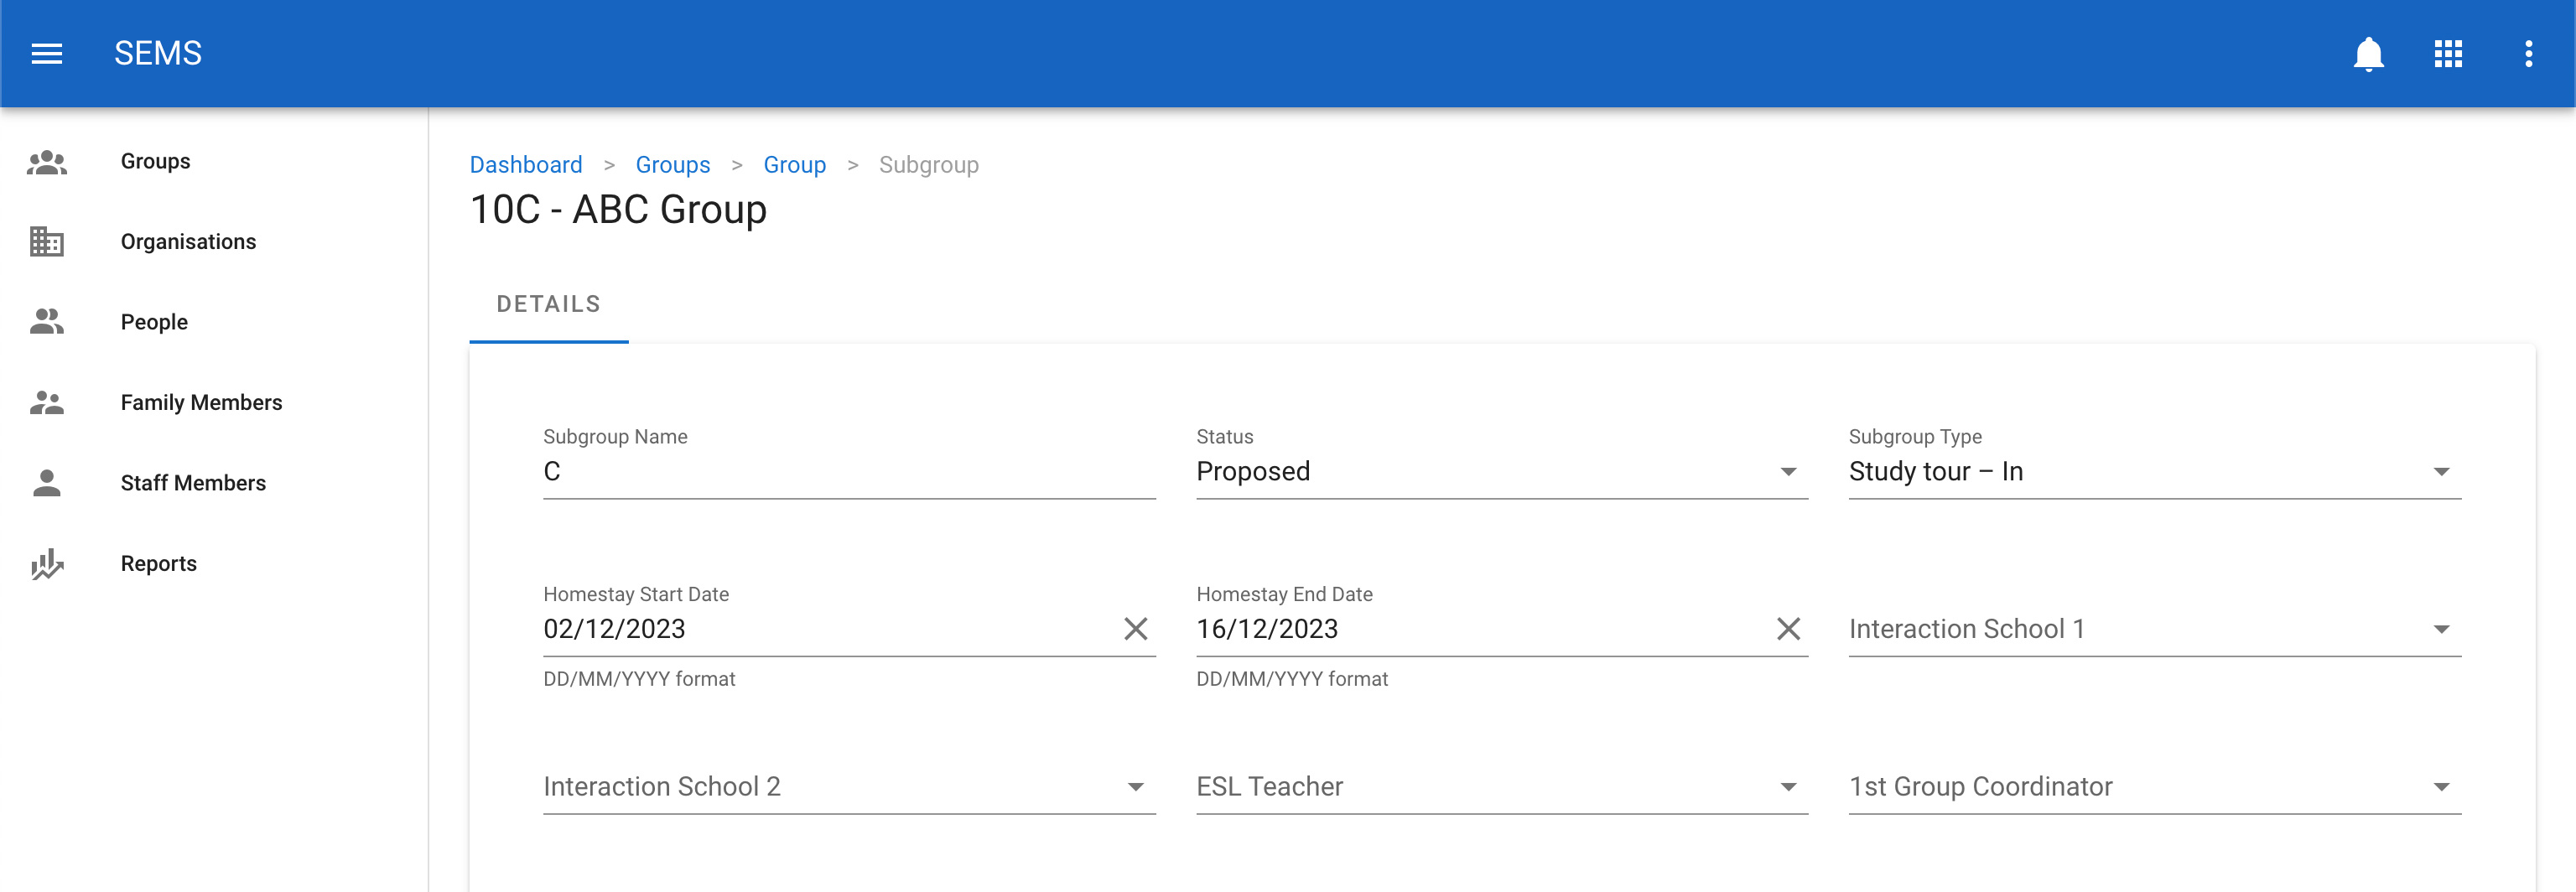
Populate the sub group details in the supplied form and click on the save button.
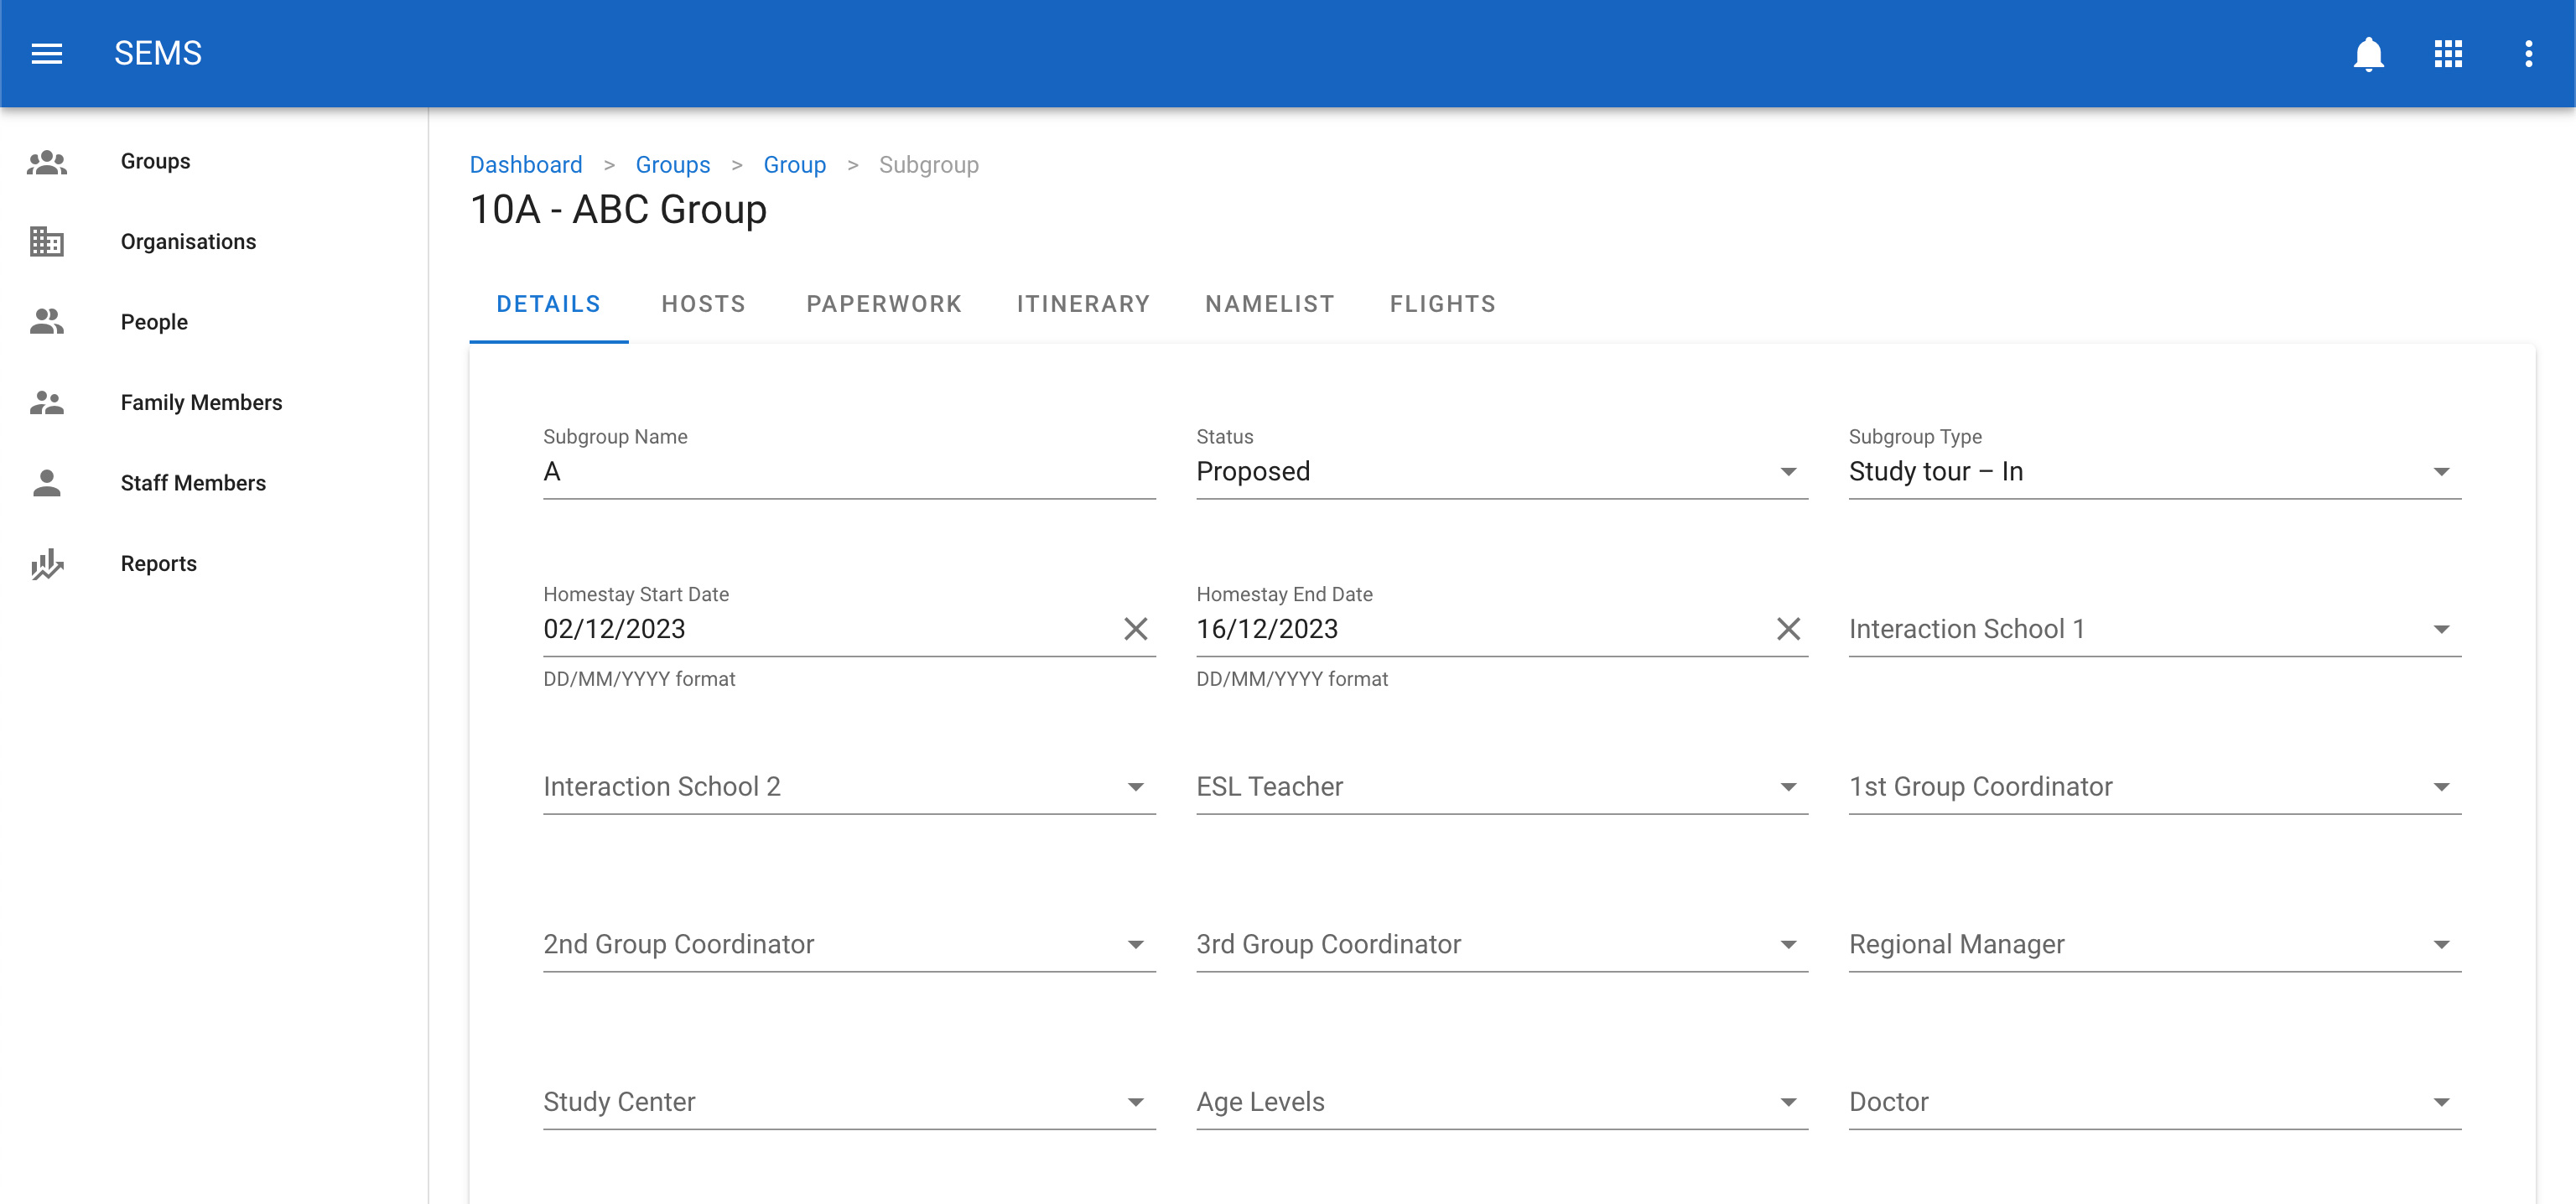
Once saved the sub group another set of tabs will appear. These tabs will enable you to manage:
Editing a sub group
To change or edit a sub group, navigate to the Groups page, and select the sub groups tab and click on the title or row of the sub group you want to edit.
Once on the sub group edit screen, update the relevant fields. Then confirm the change by clicking the Save button.
Delete a sub group
To delete a sub group navigate to the Groups page and select the sub groups tab, then click the icon Delete which is shown as a trash icon on the list view for a sub group.
WARNING
Groups should generally not be deleted as they are used for auditing purposes. If a group has been cancelled or is no longer active you can change the status of the group to Cancelled.